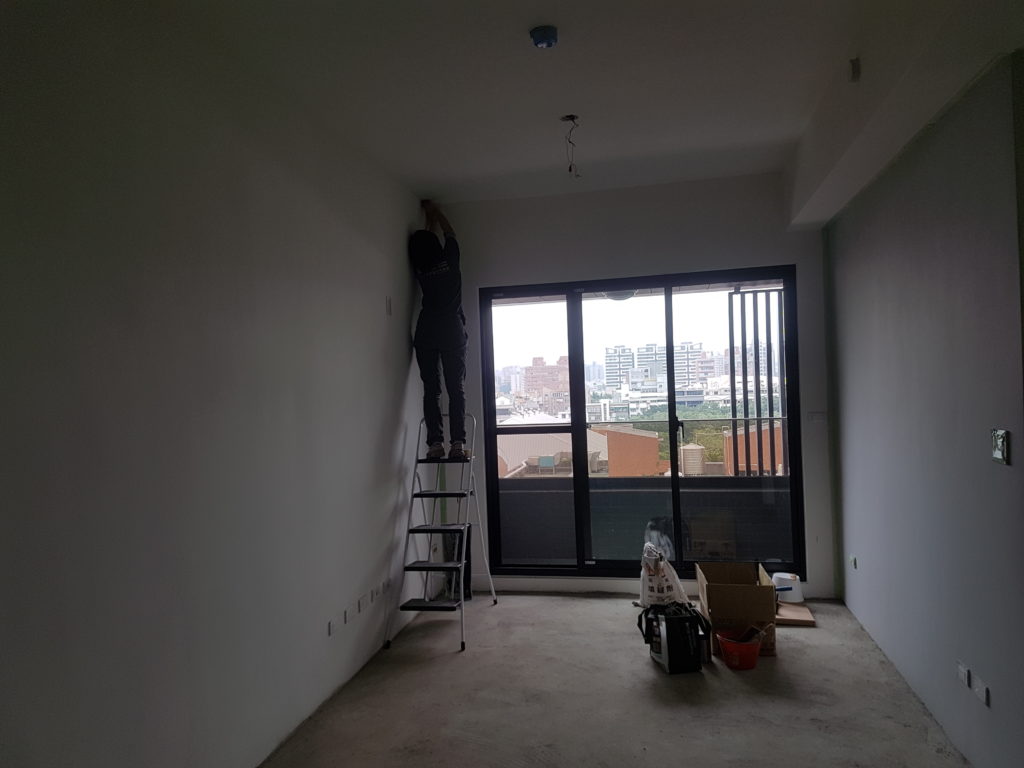
Me and my wife recently bought a new apartment. To get the style we want rather than what a designer recommends, and also to save some money, we have been doing a lot of DIY for the interior decoration. I think it turned out really well, especially for two inexperienced people, and I just want to show off a bit.
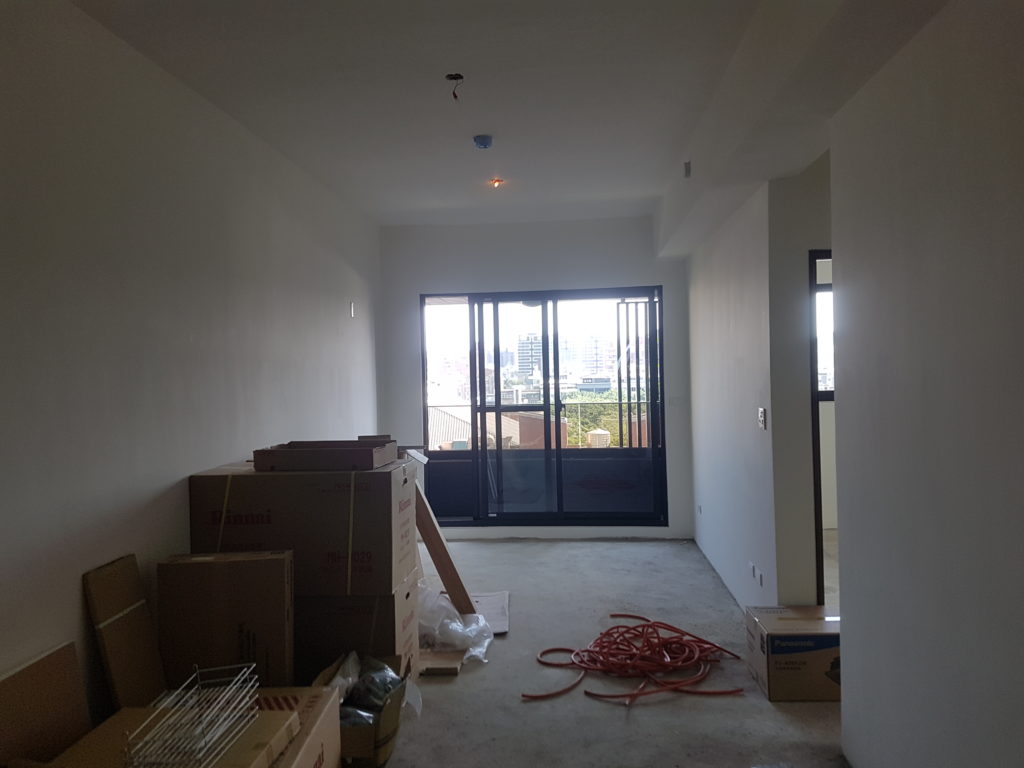
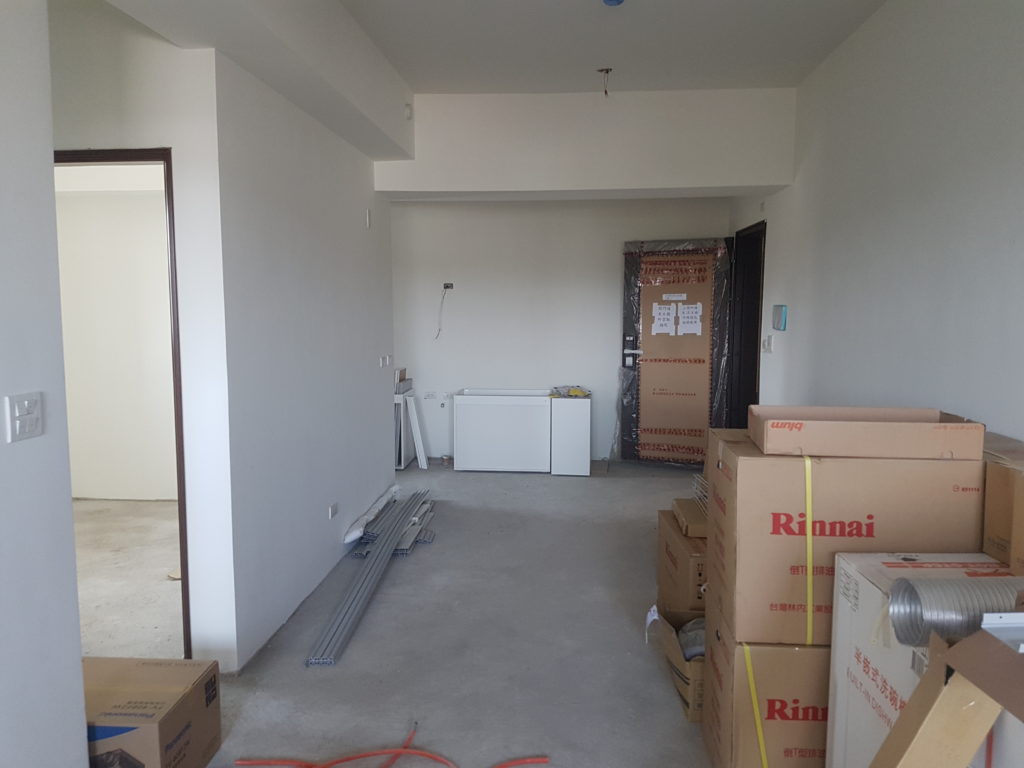
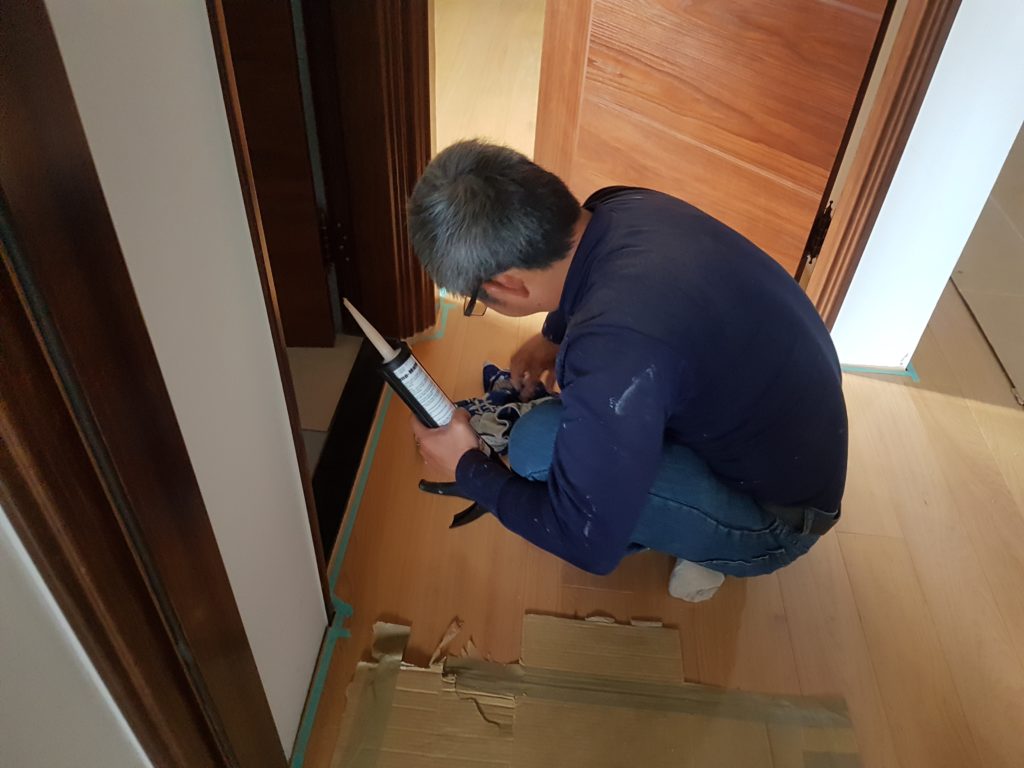
Above is what the apartment looked like when we got the keys. The boxes are for the kitchen appliances that the construction company would install later. My brother inlaw was kind enough the install the floor tiles in the kitchen for us. but we had to put the filler in the gaps ourselves
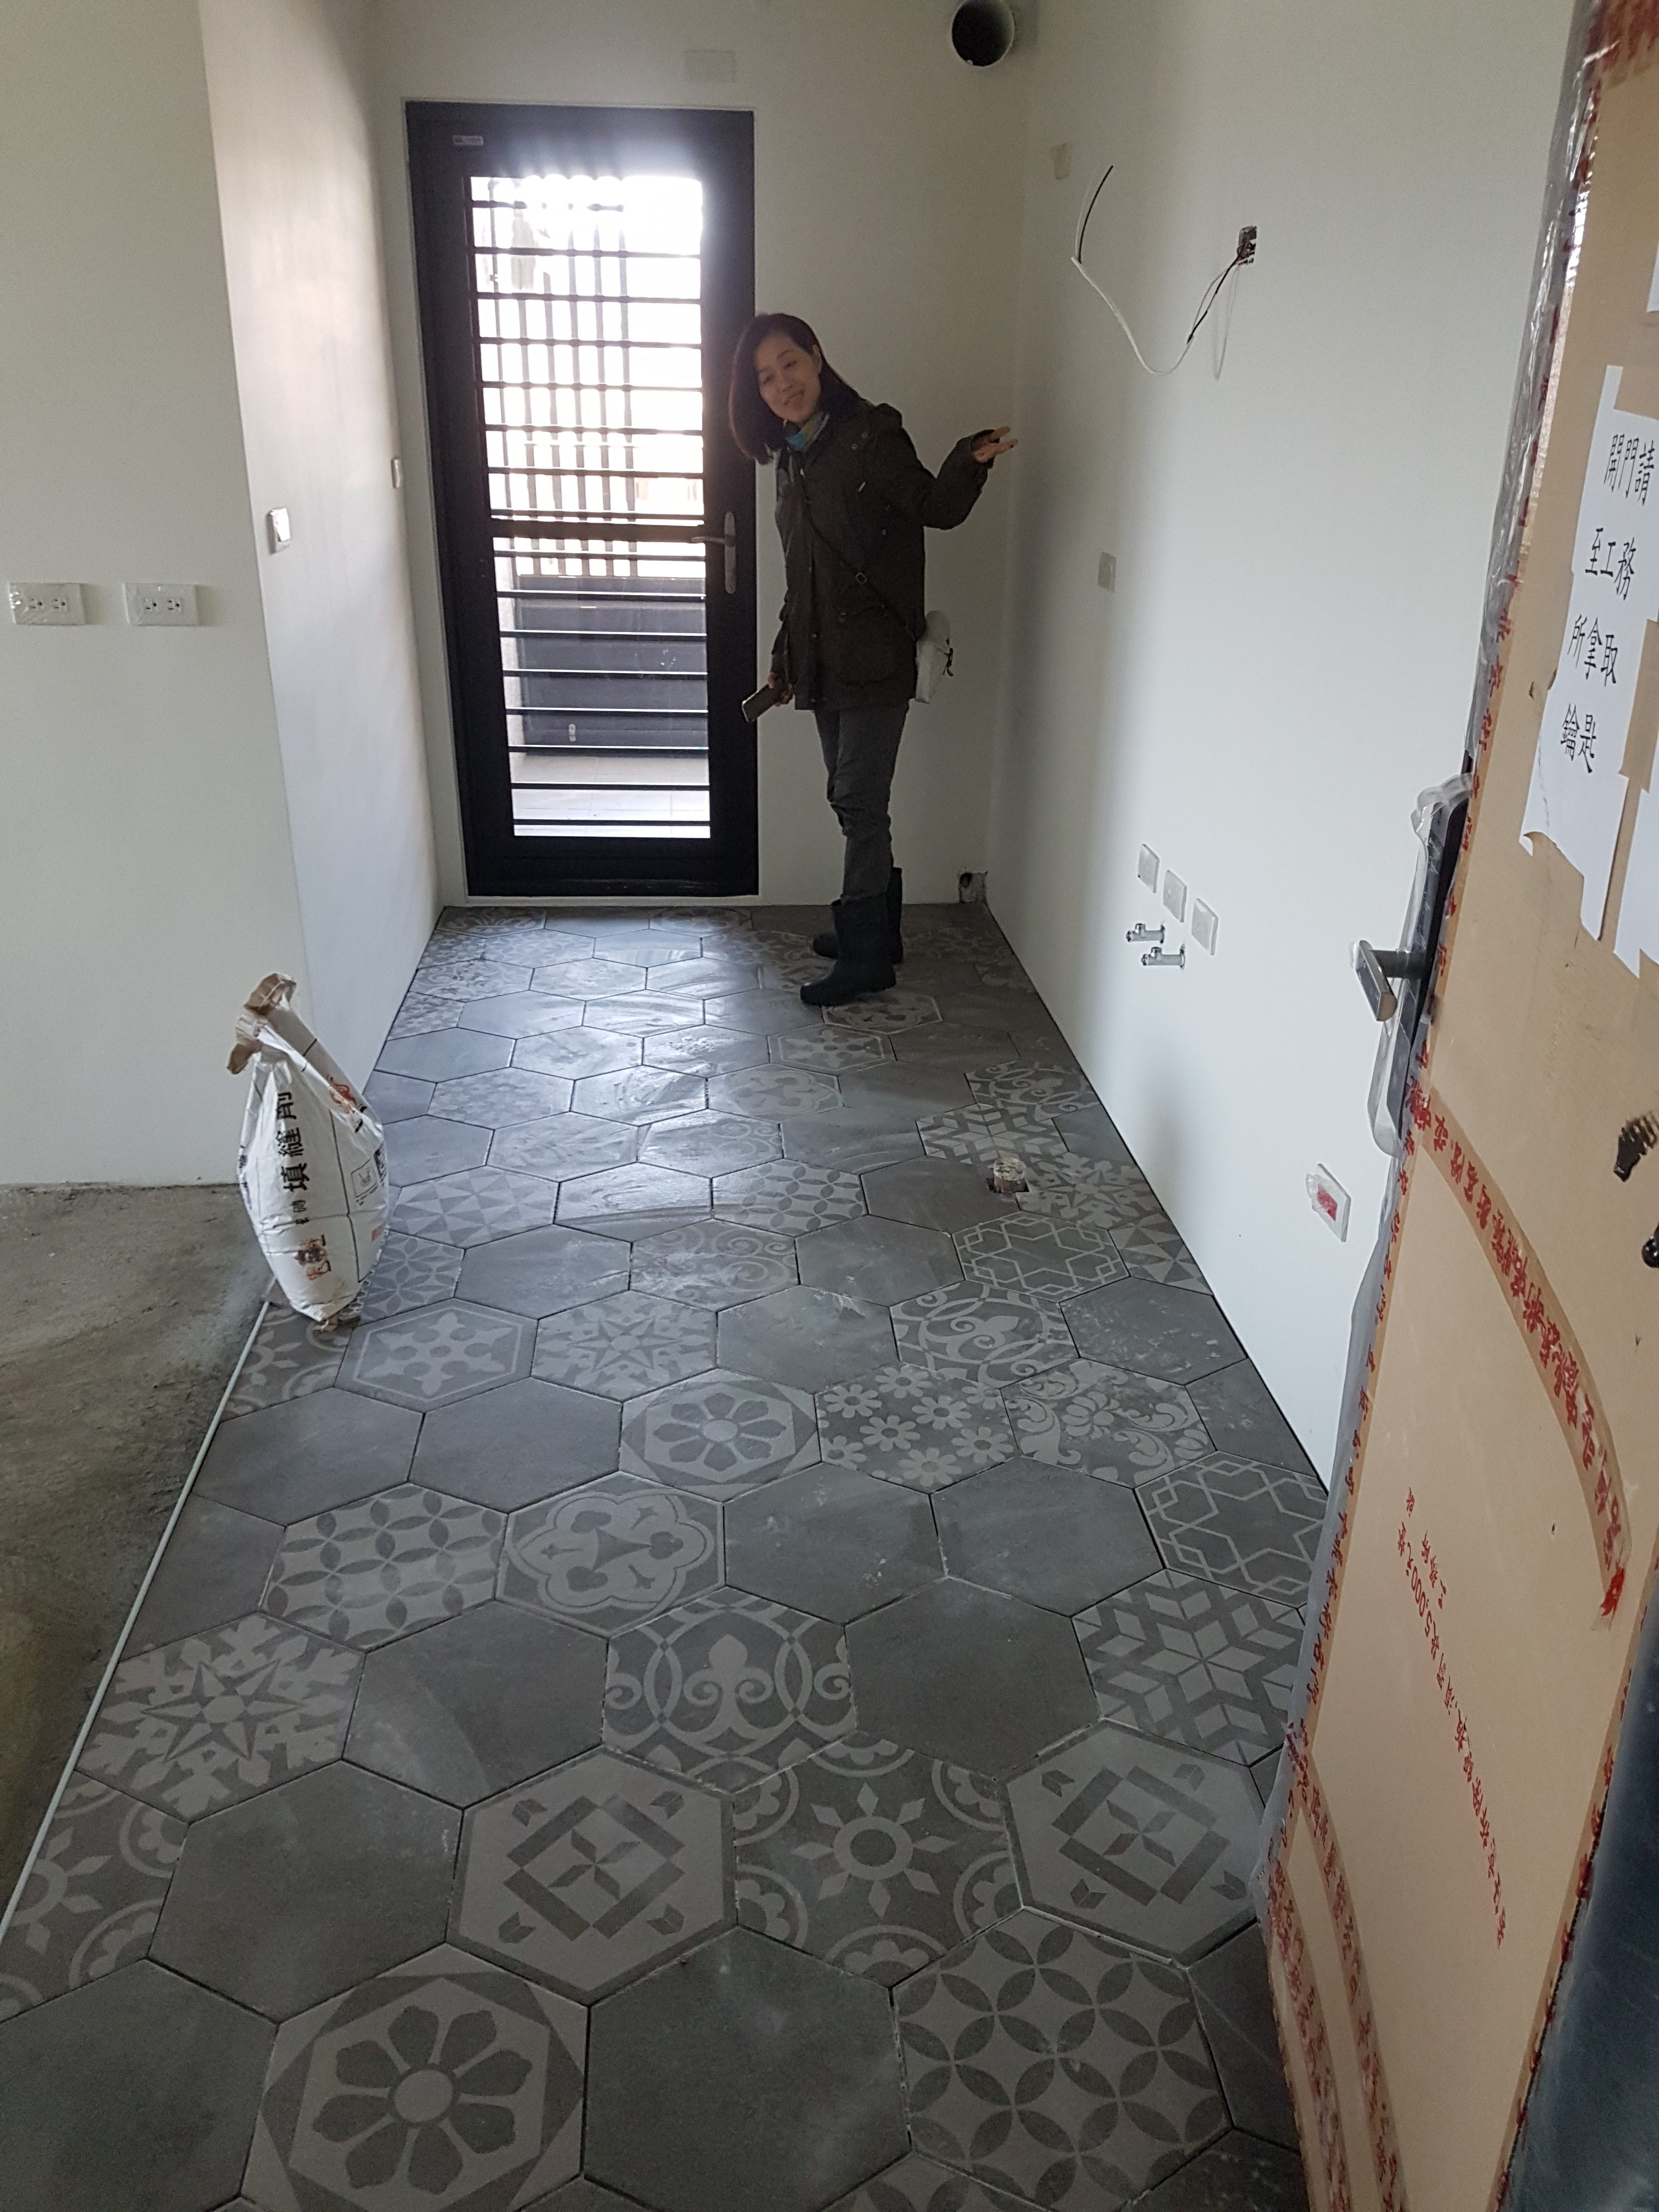


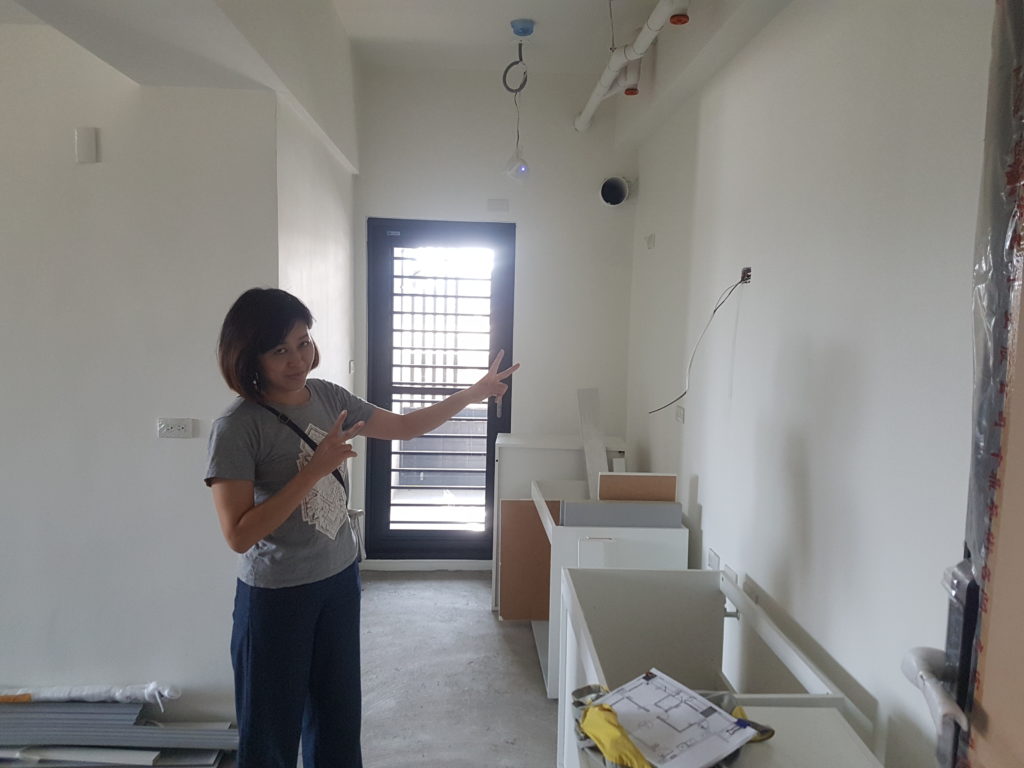
Me and my wife filling the gaps
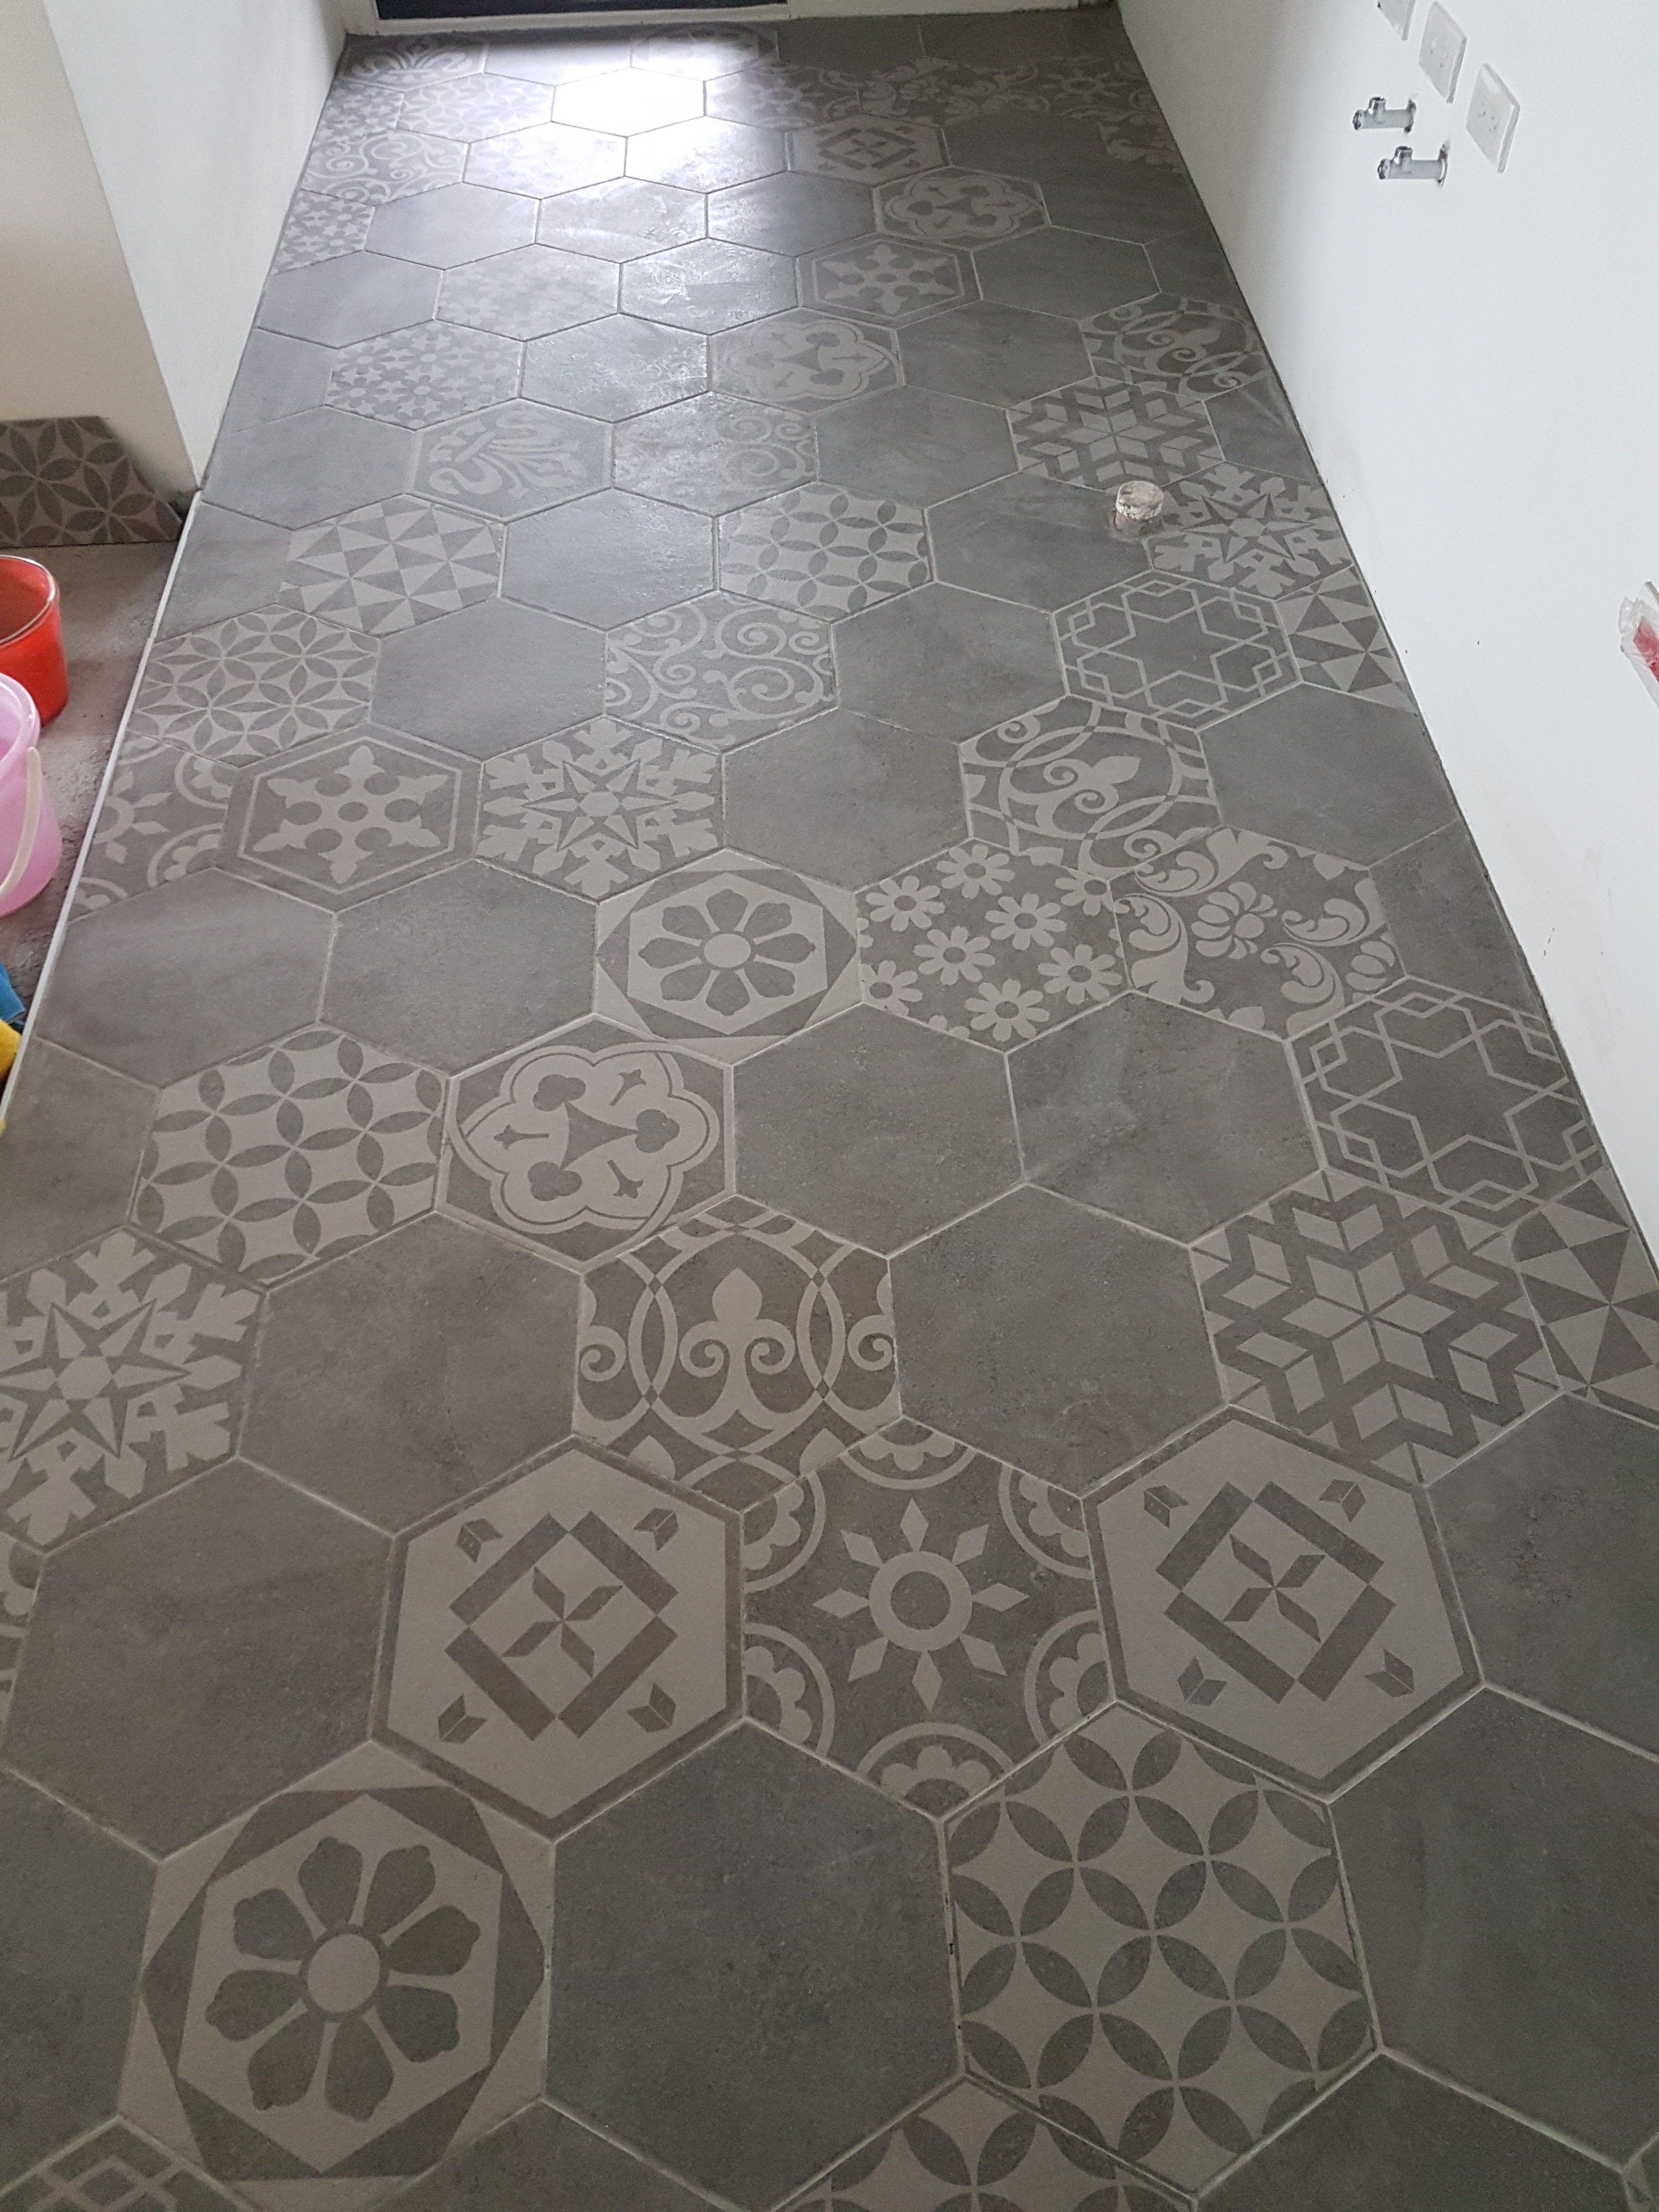
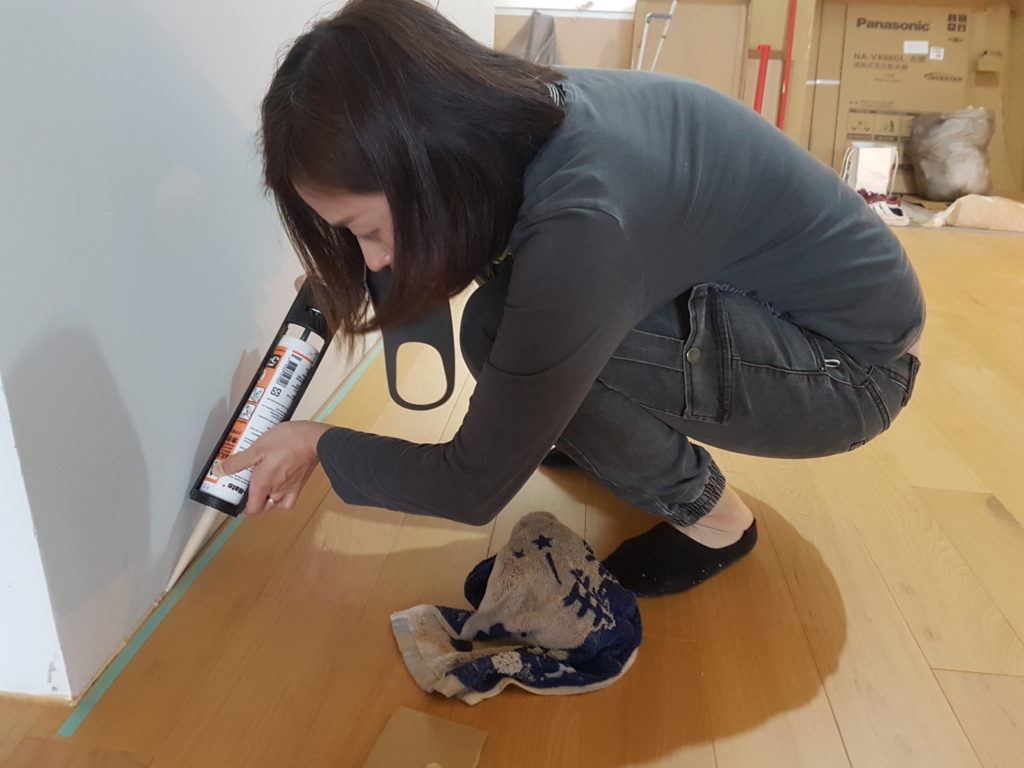
Filling the gaps was not too difficult but it took some time and effort to do it well. Once the kitchen floor was done we could paint the walls that we wanted in another color than the standard white. I’ve painted some walls before so I sort of knew what I was doing, and Yini learned quickly.
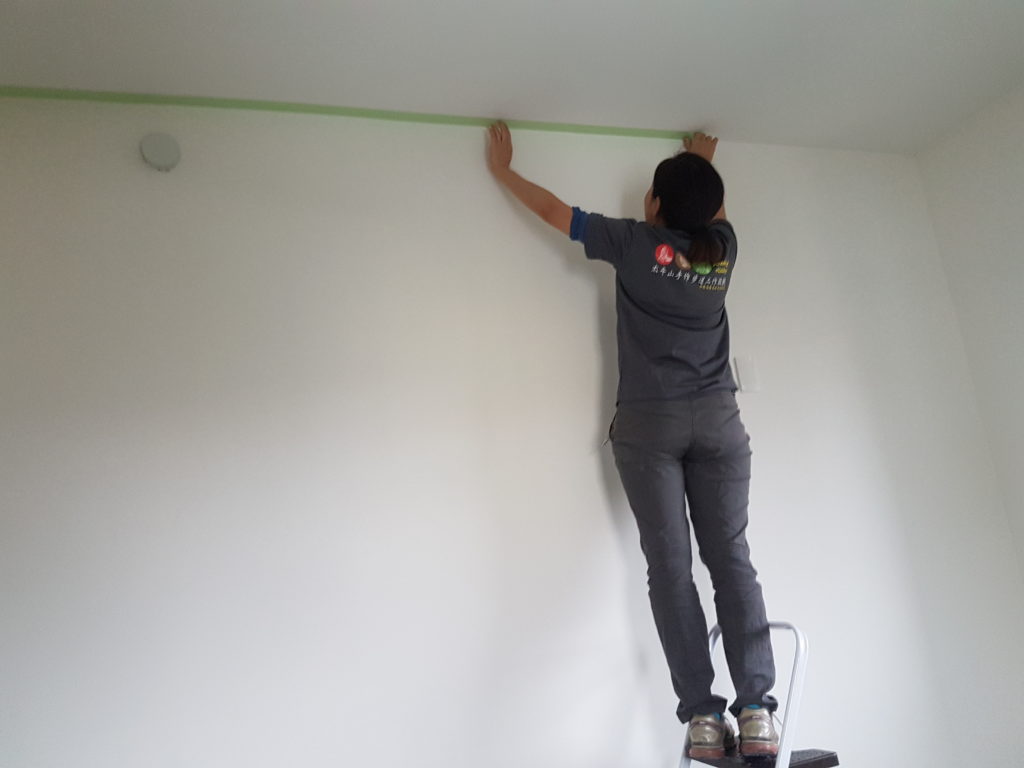
Yini got the mission to put up masking tape in all the corners 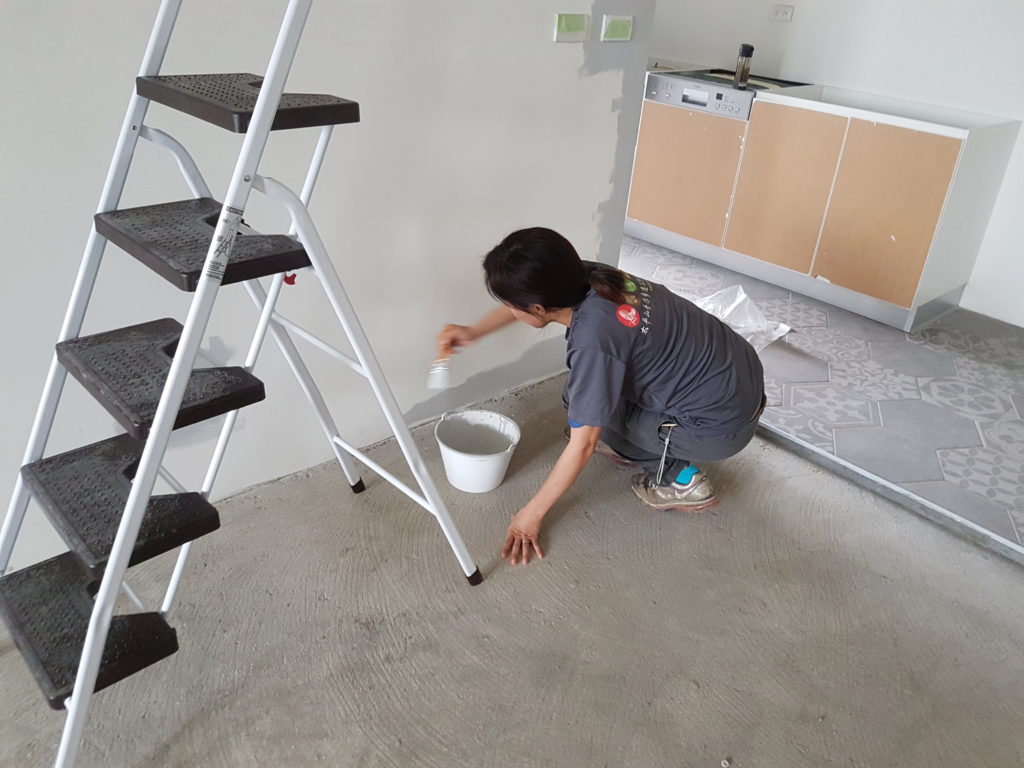
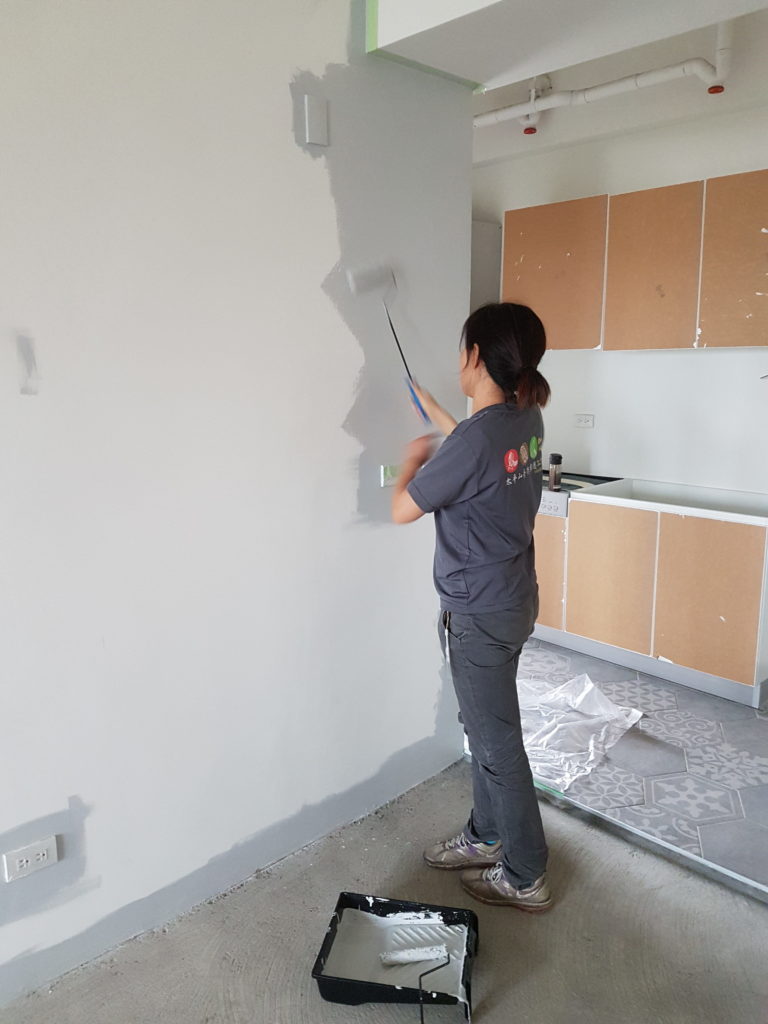
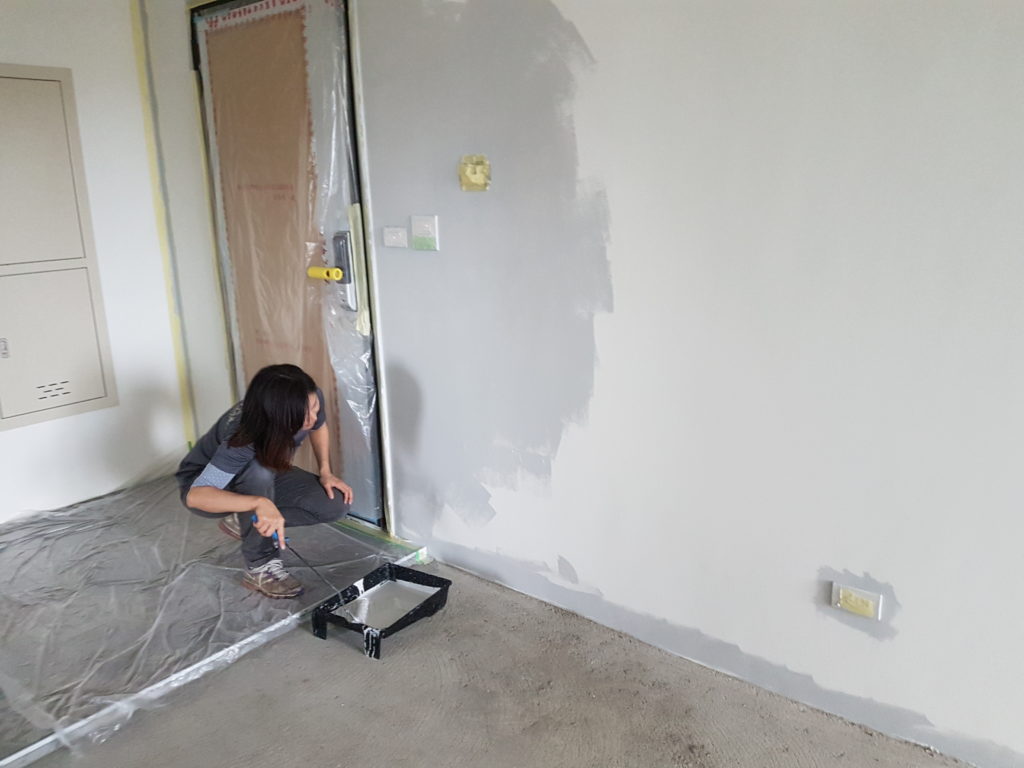
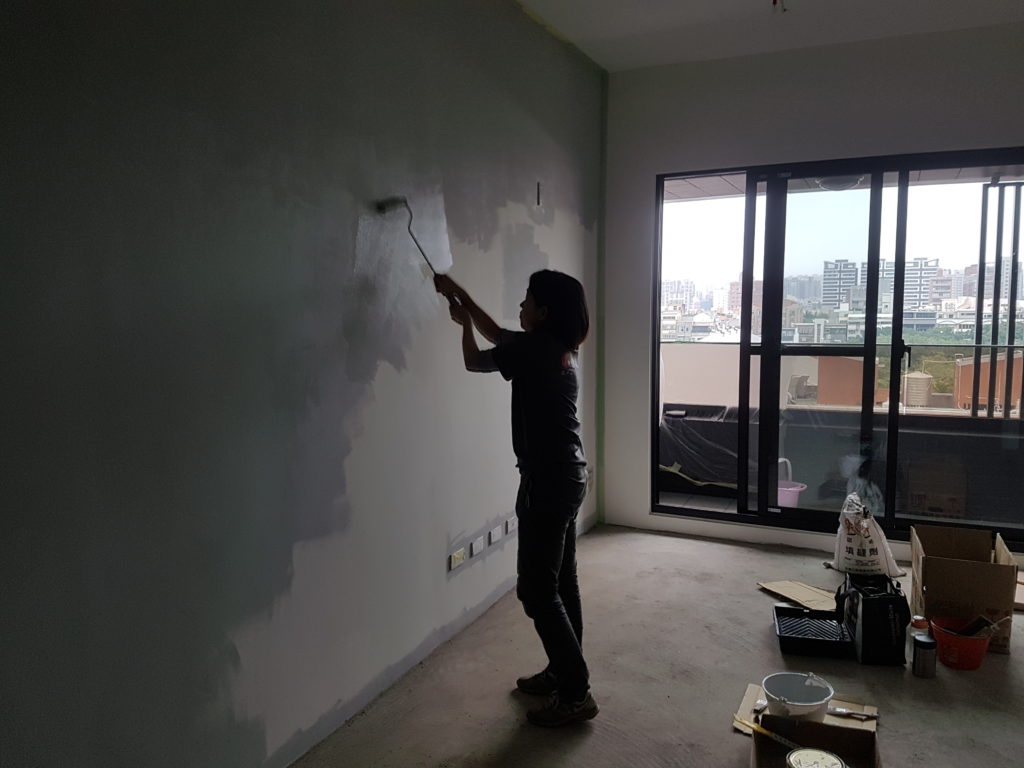
Yini painting the walls
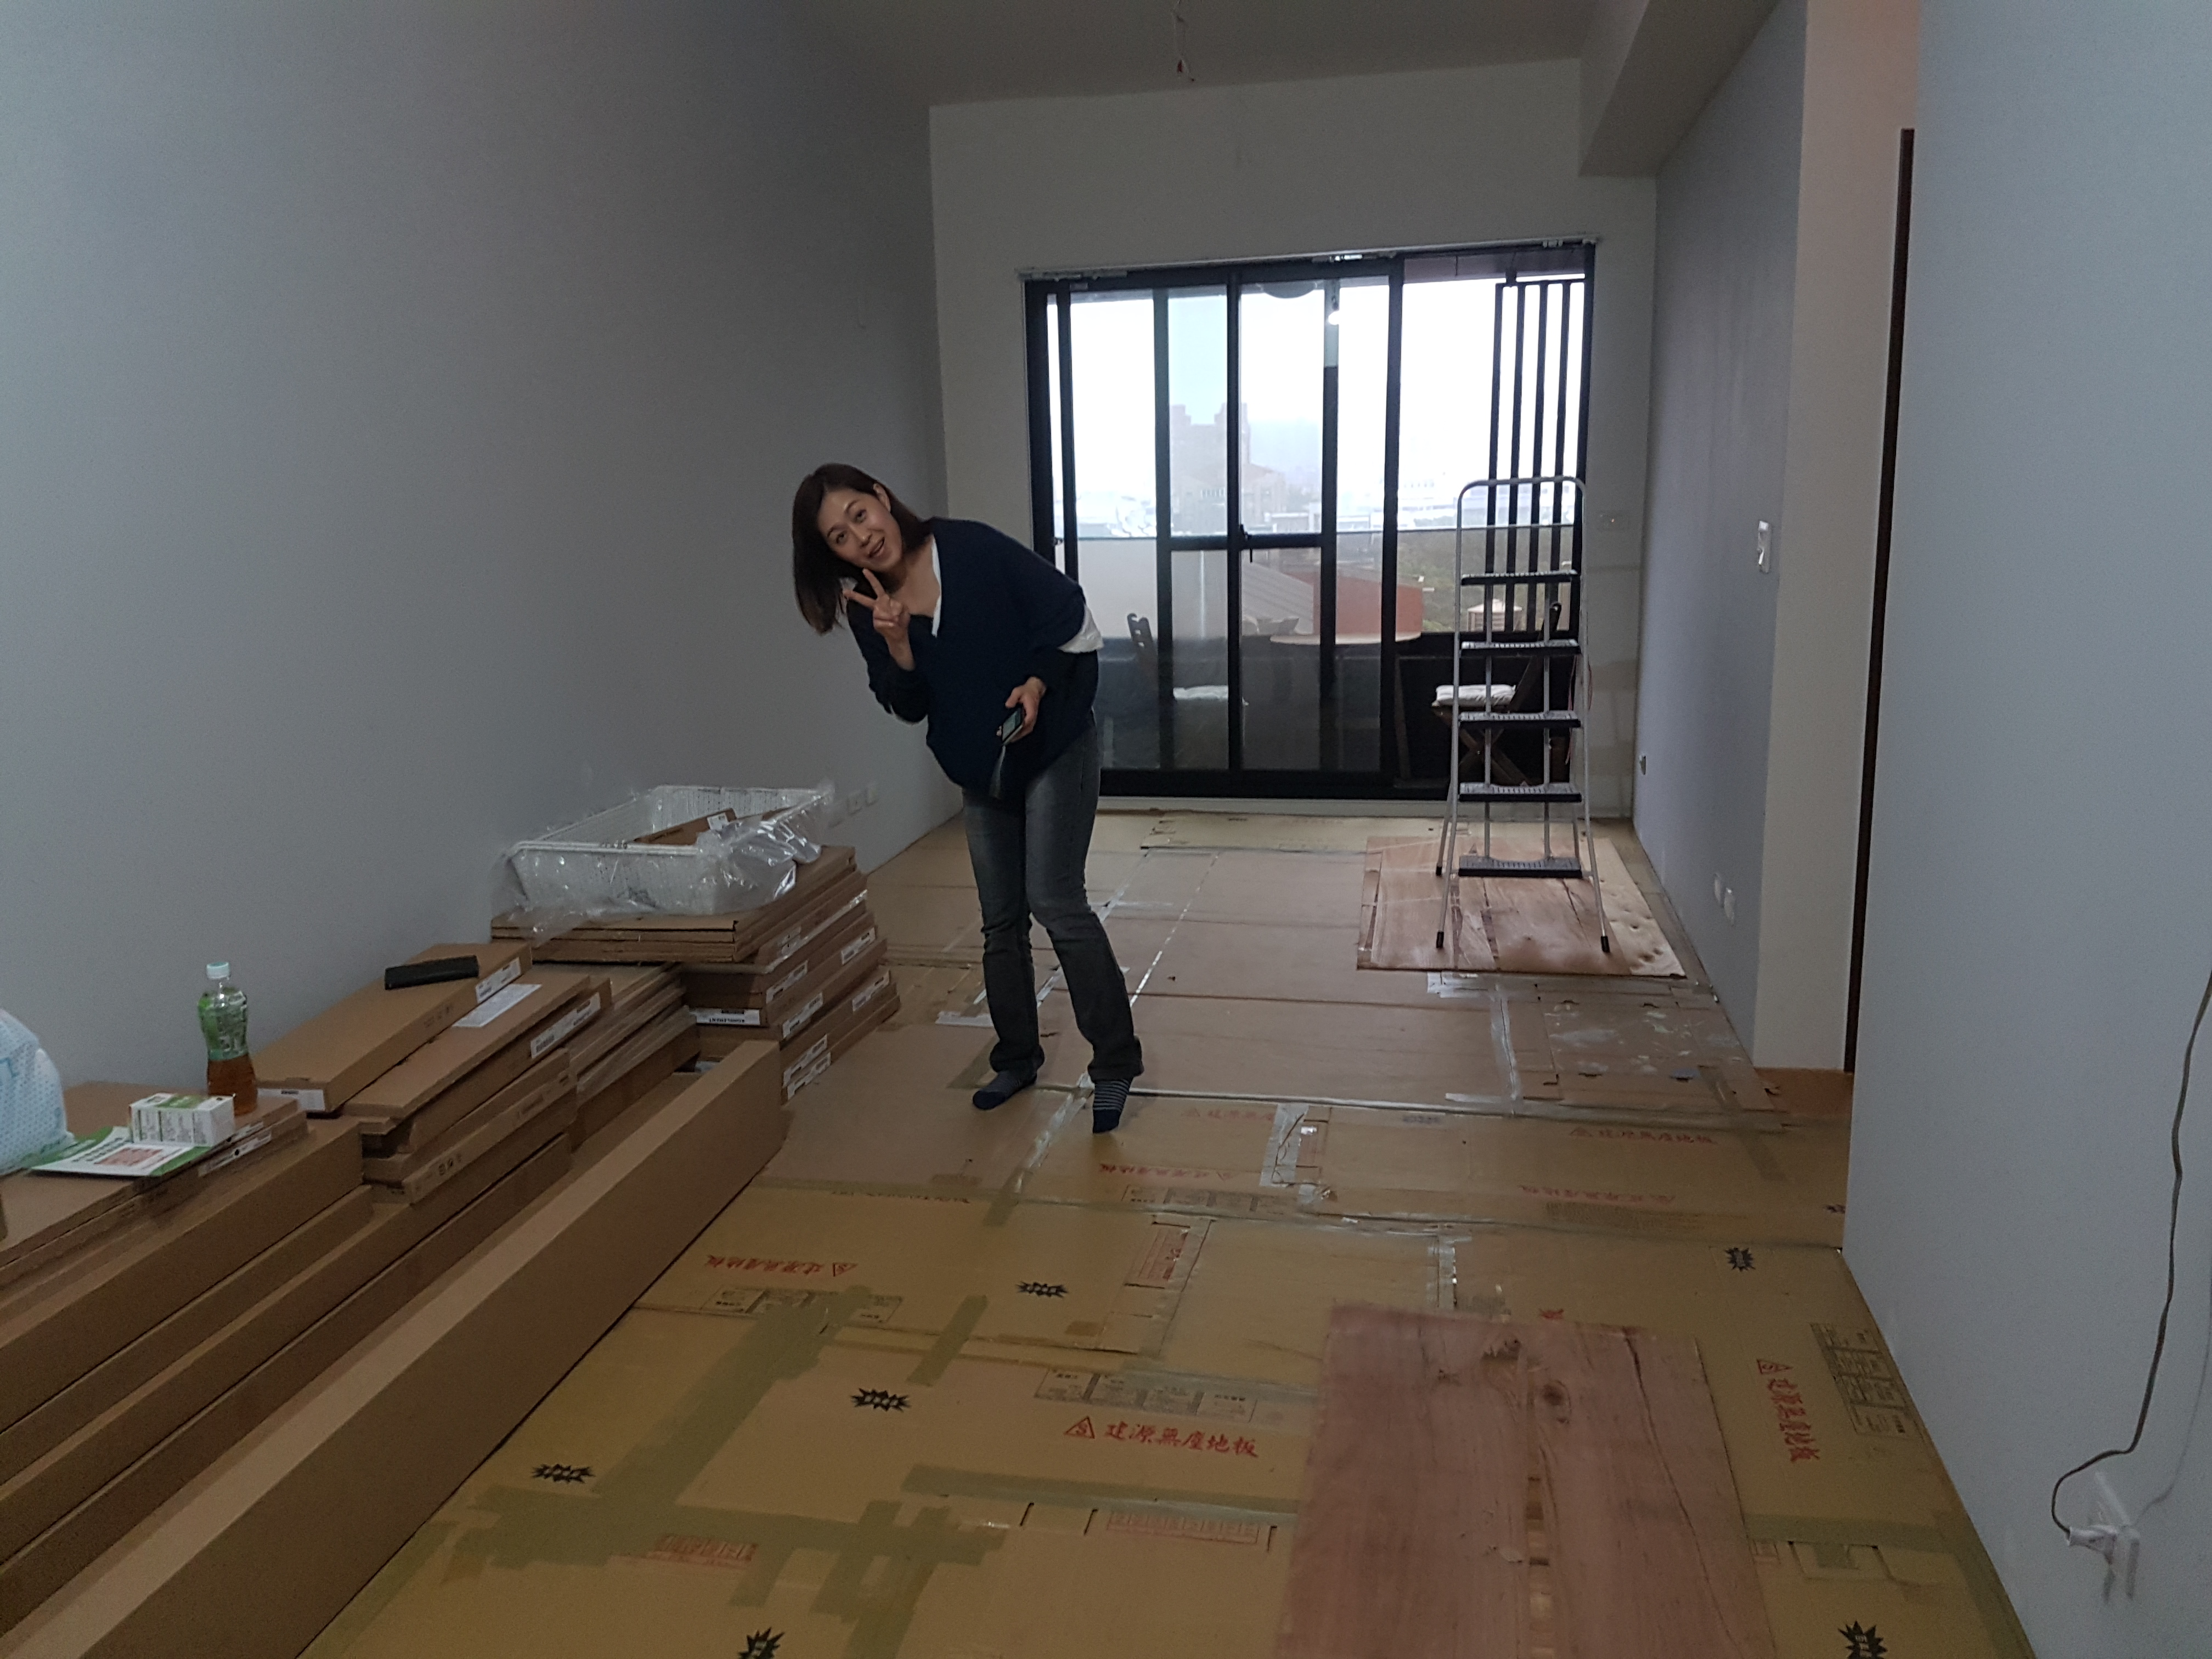
When the walls were painted my father inlaw, who owns a construction company, came with a small team to install the wooden floor for us. We helped as much as we could, carrying lumber, opening boxes and just keeping the place clean and tidy. We left the real work to the professionals though.
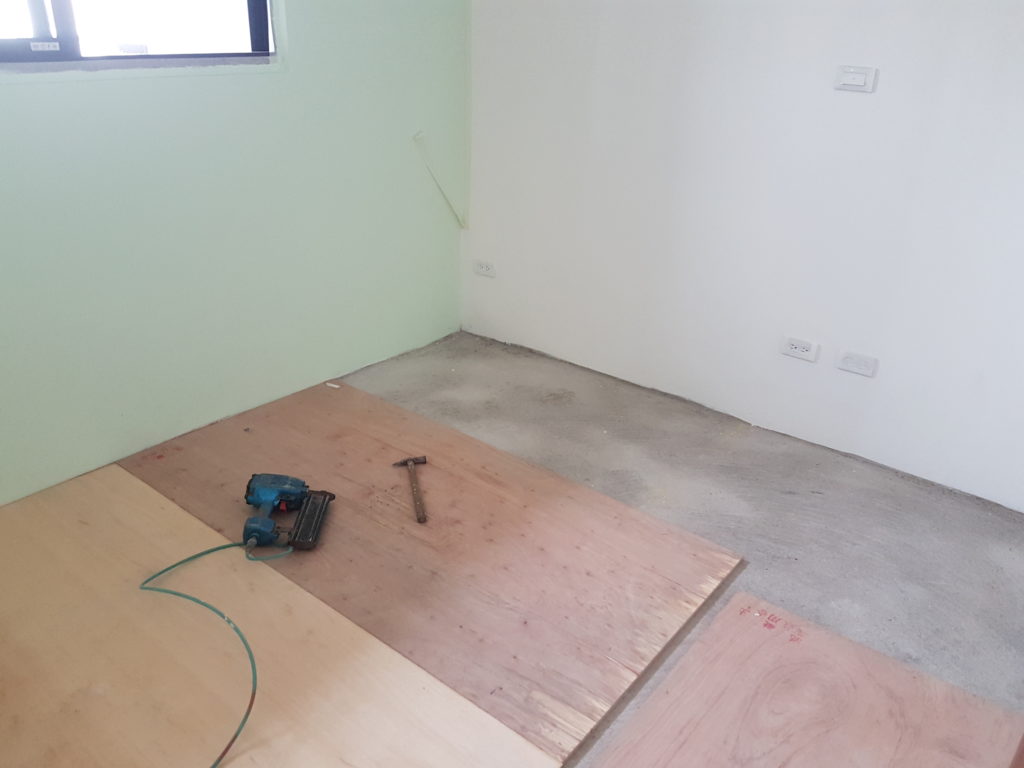
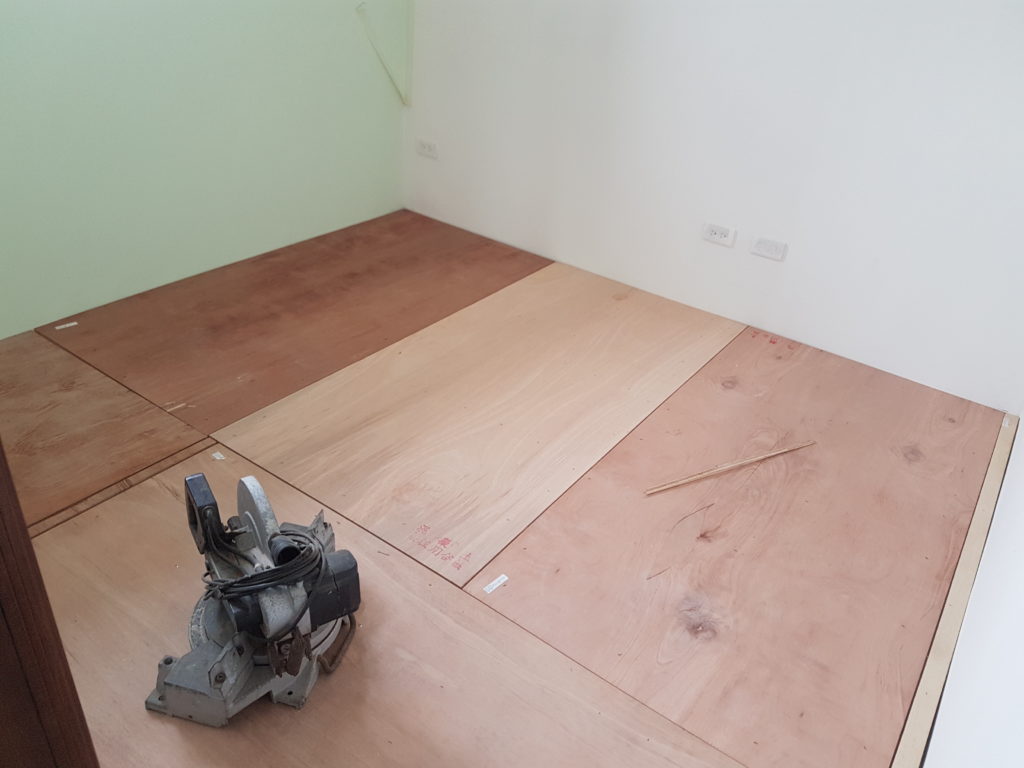
They put two layers of plywood boards as a base. The first layer is nailed directly into the concrete.


Installing the base layer
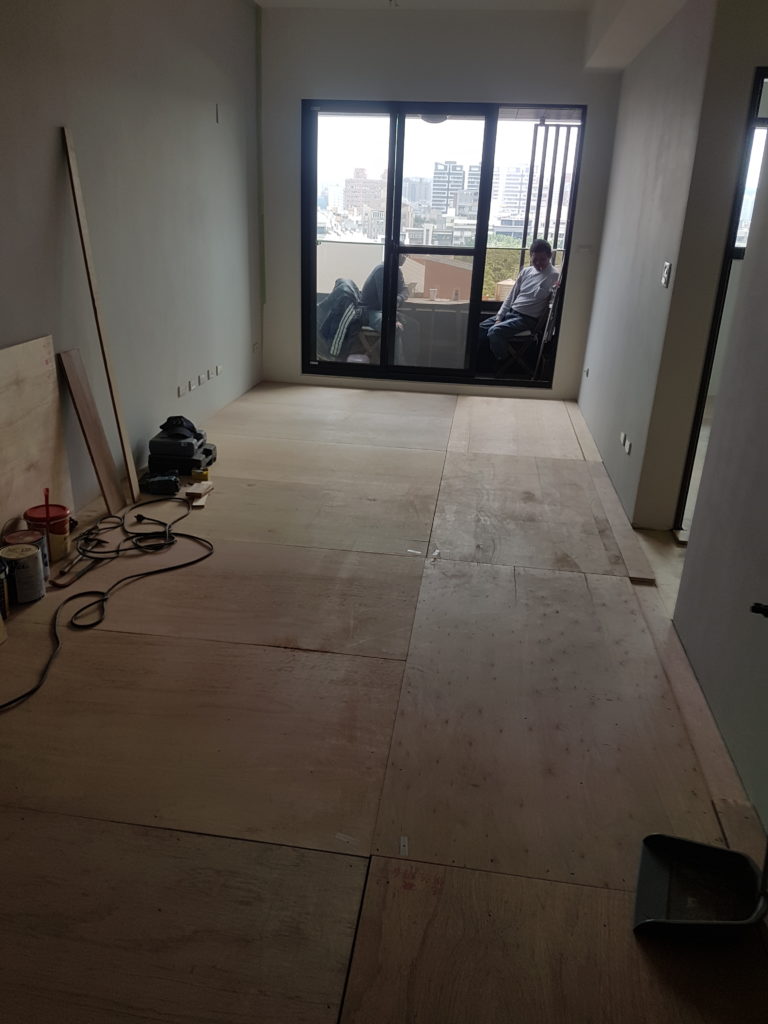
The base layer is finished 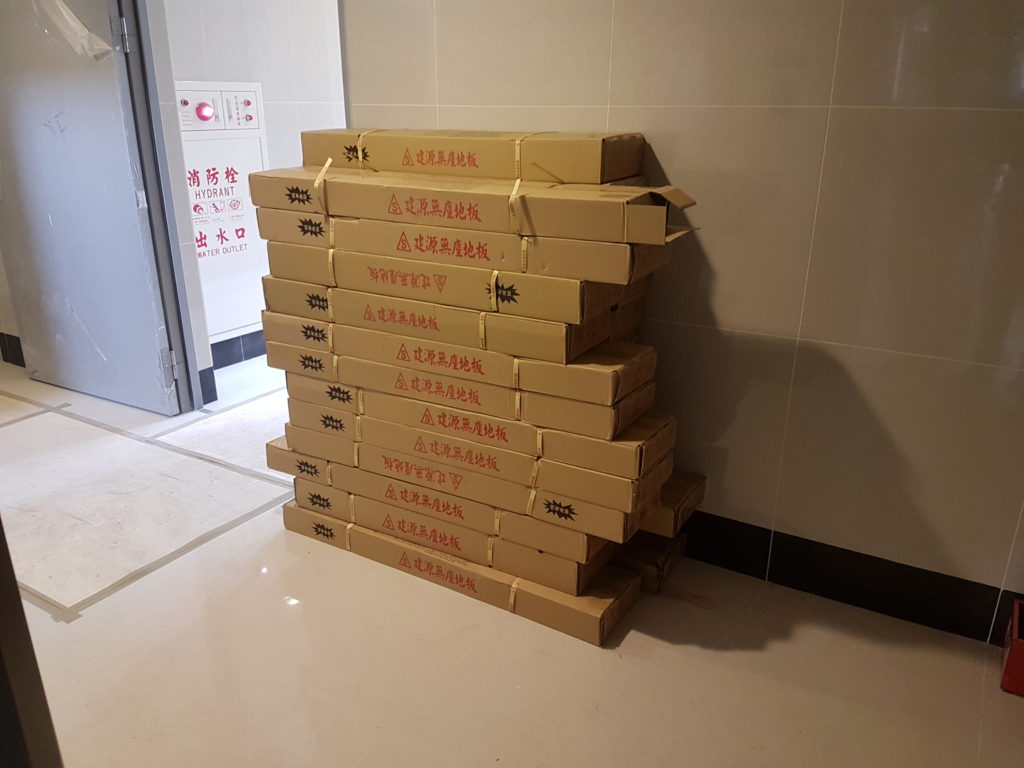
Boxes full of floor boards ready for use 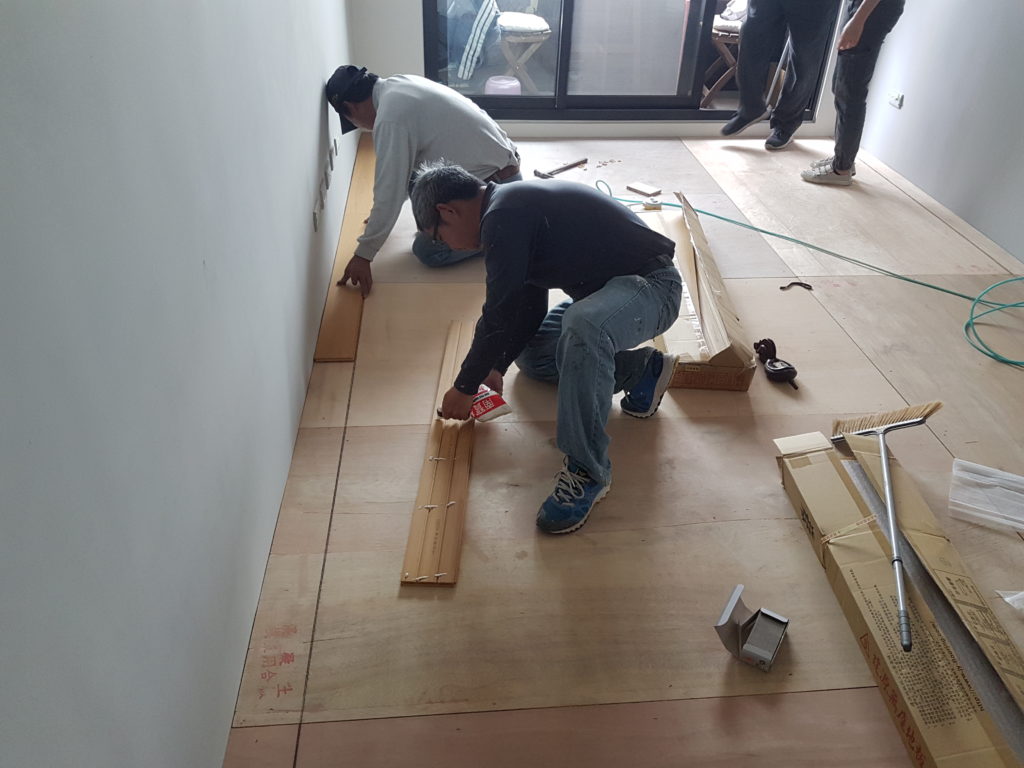
The first row of actual floor boards
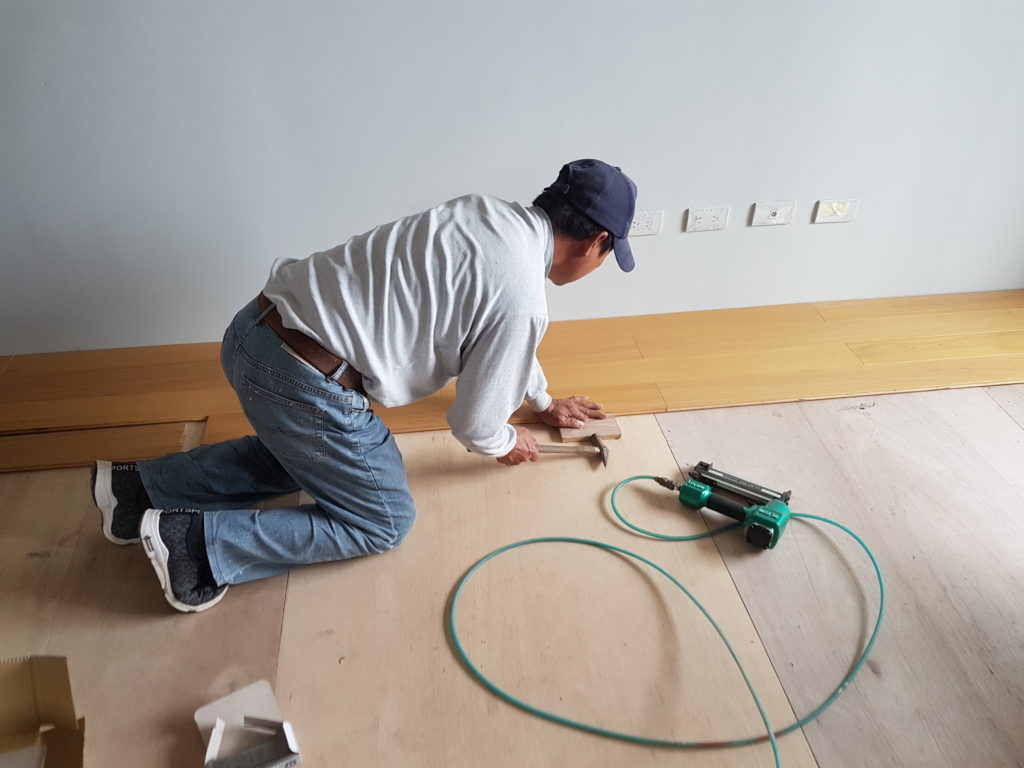
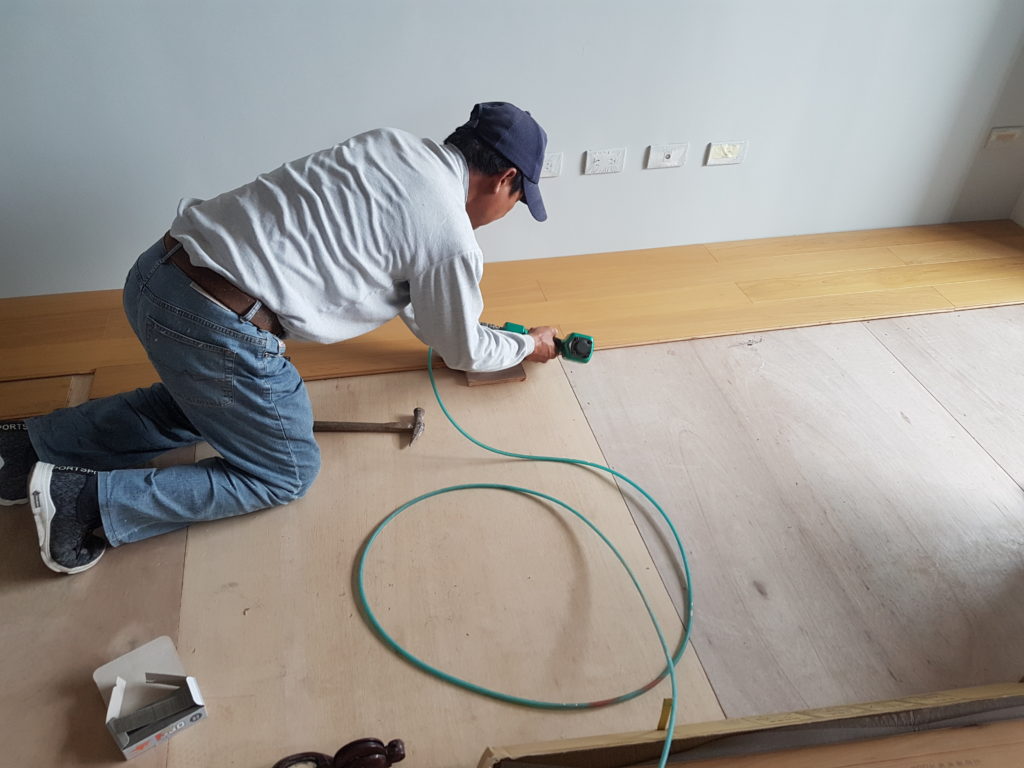
Installing floor boards
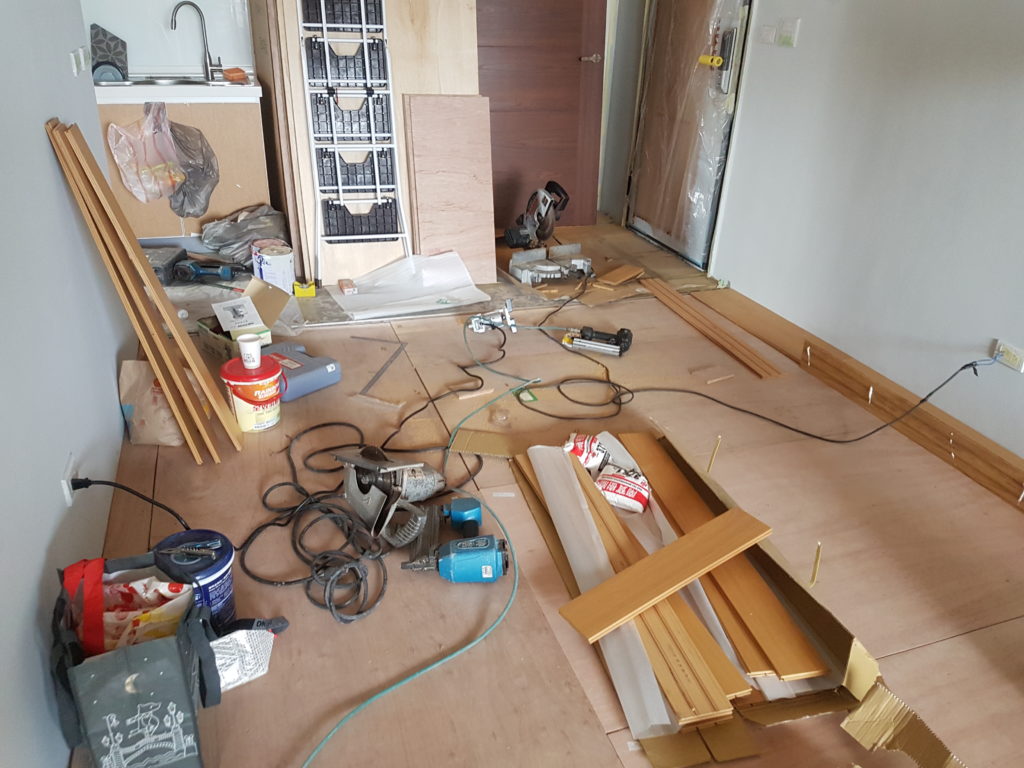
Chaos of tools and materials 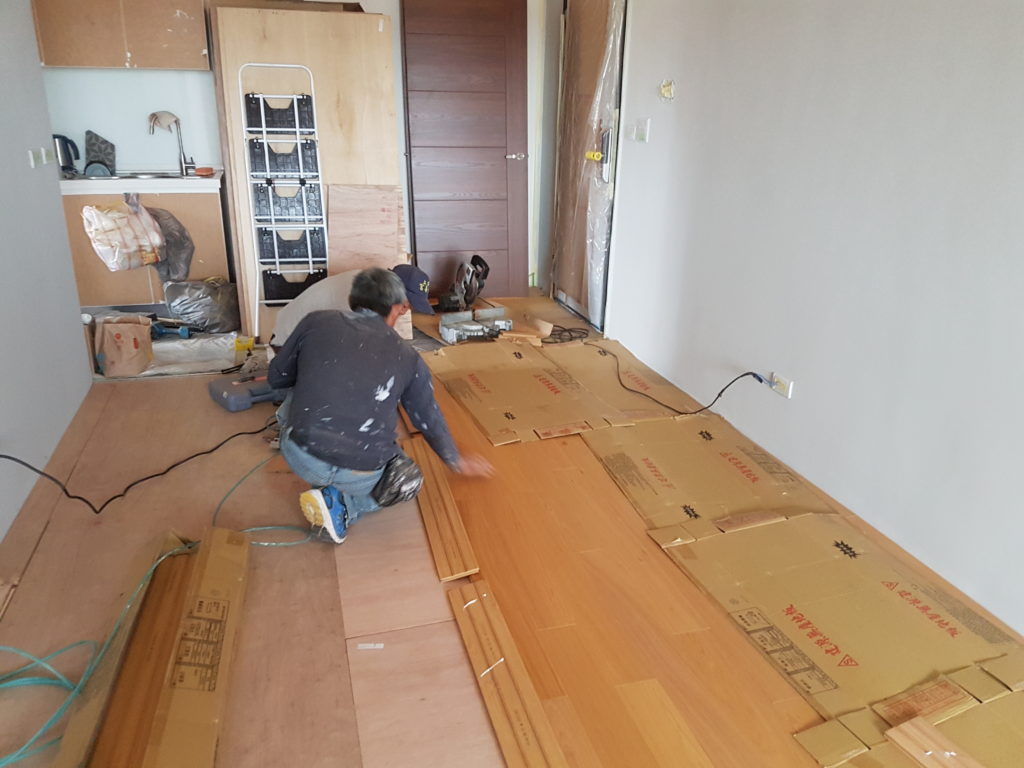
Now we’re getting on the way 
They used little wooden wedges to keep the last board in place


The trickiest part was fitting the boards around the corner and the door frames.
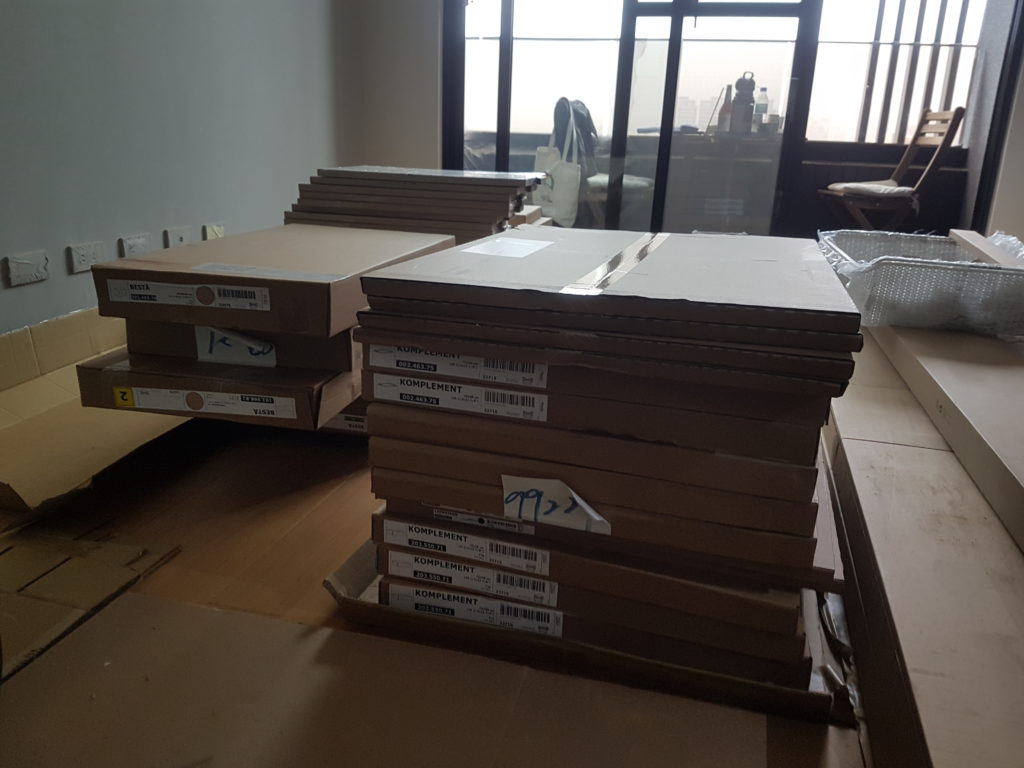
While working on the floor a load of IKEA furniture was delivered to us which was a bit inconvenient but we managed to work around it. 
Laying the final board
They filled the gap between the last board and the floor with silicone. Since they ran out of silicone Yini had to finish the job for them

I believe I could have done a lot of the work with the floor on my own if I just had the right tools, but the parts closest to the walls seemed rather difficult and I’m glad we had professional craftsmen to do it. Once the walls and floor were done the only major thing remaining was the AC. We would have preferred to install the AC before the wooden floor as both we and the AC installation guys were afraid of damaging the floor. Due to some scheduling problems we weren’t able to arrange it that way. In order to protect the floor we covered nearly the entire apartment in cardboard.
After the AC was in place all the major work was done, but we still had lots of small things to do like installing the lights and filling in and painting over all the little marks made during floor and AC installation. I did most of this stuff on my own while Yini was at work so I don’t have a lot of pictures. There is one thing I can show you though. The guys installing the AC cut a channel in the bedroom wall to hide the condensation drainage pipe. Of course they filled it in with cement afterwards but it wasn’t completely flush with the rest of the wall so I had to cover it with putty then sand it down to make it flush.
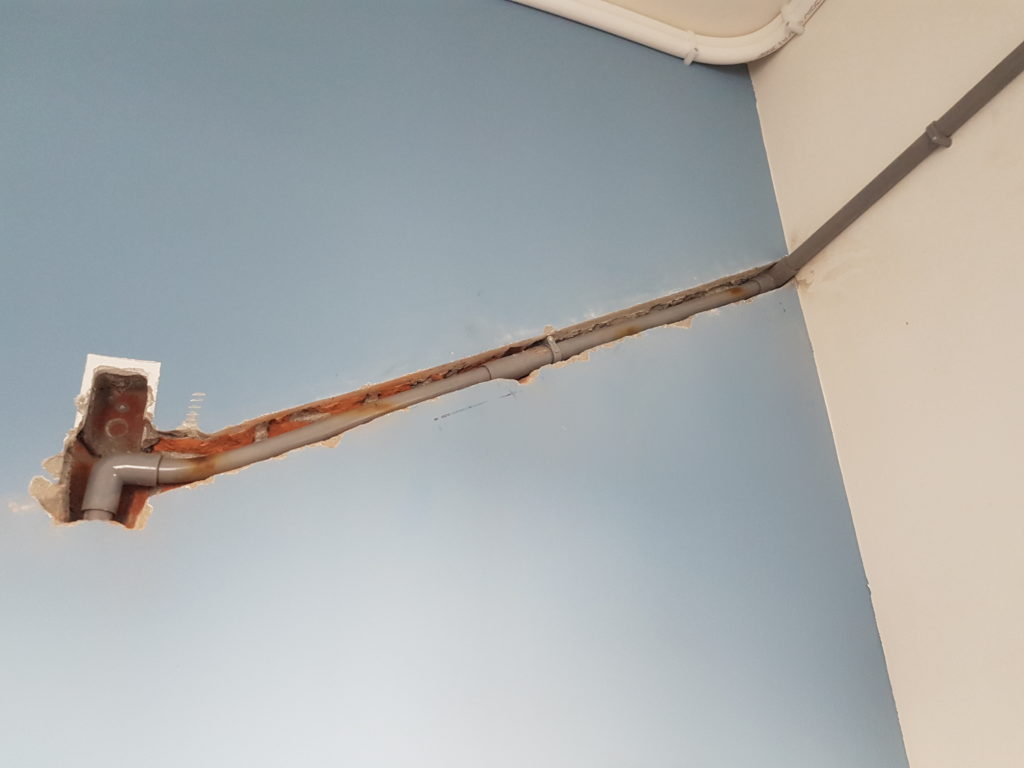
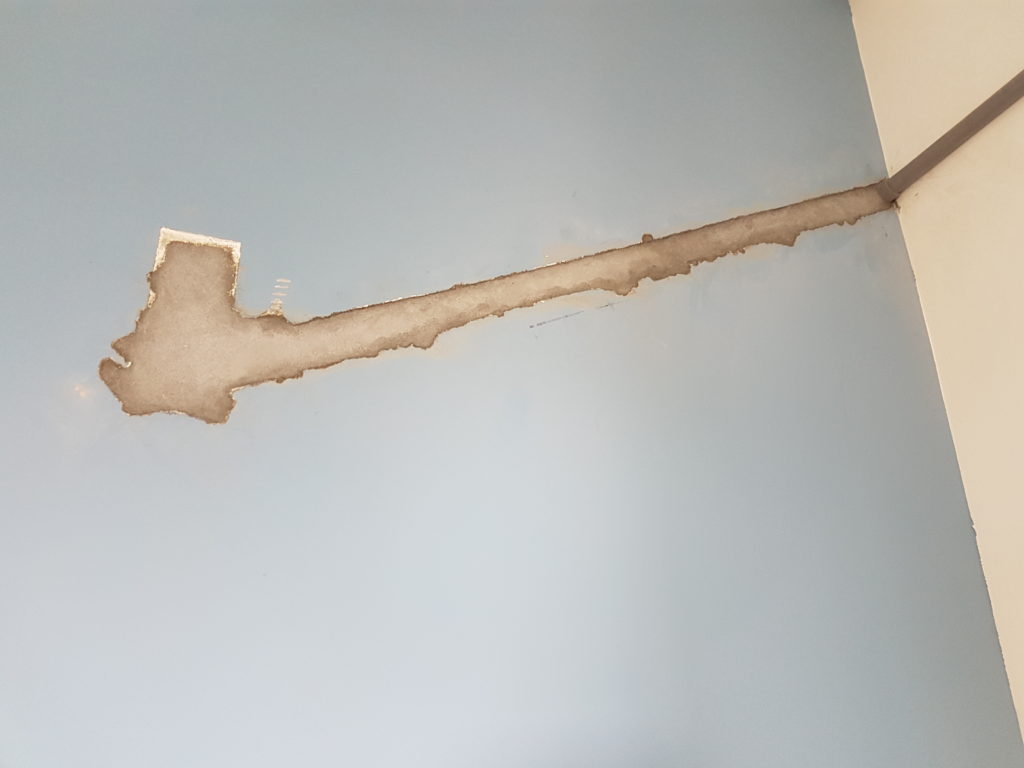
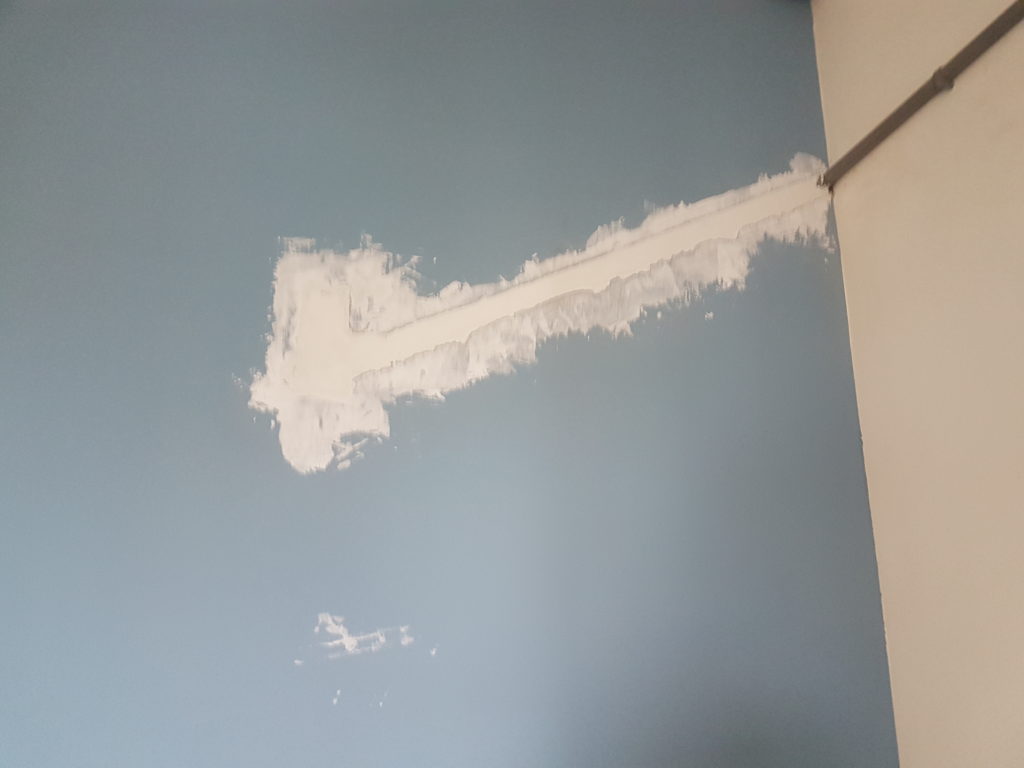
The drainage pipe channel in the wall during different stages of work.
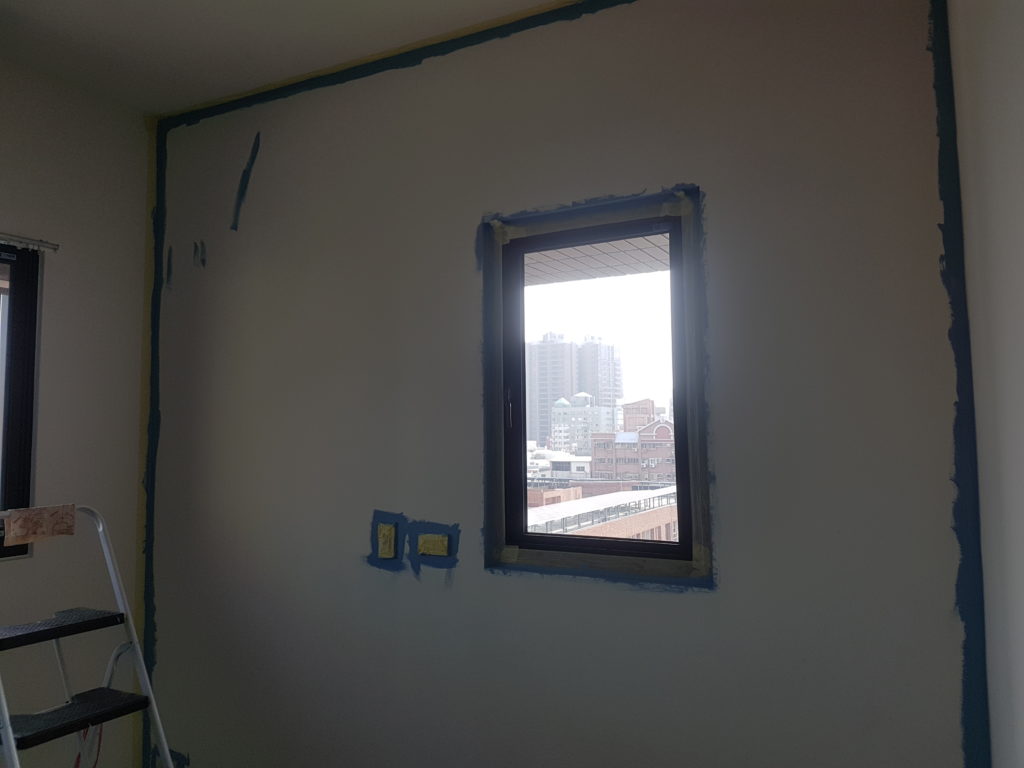
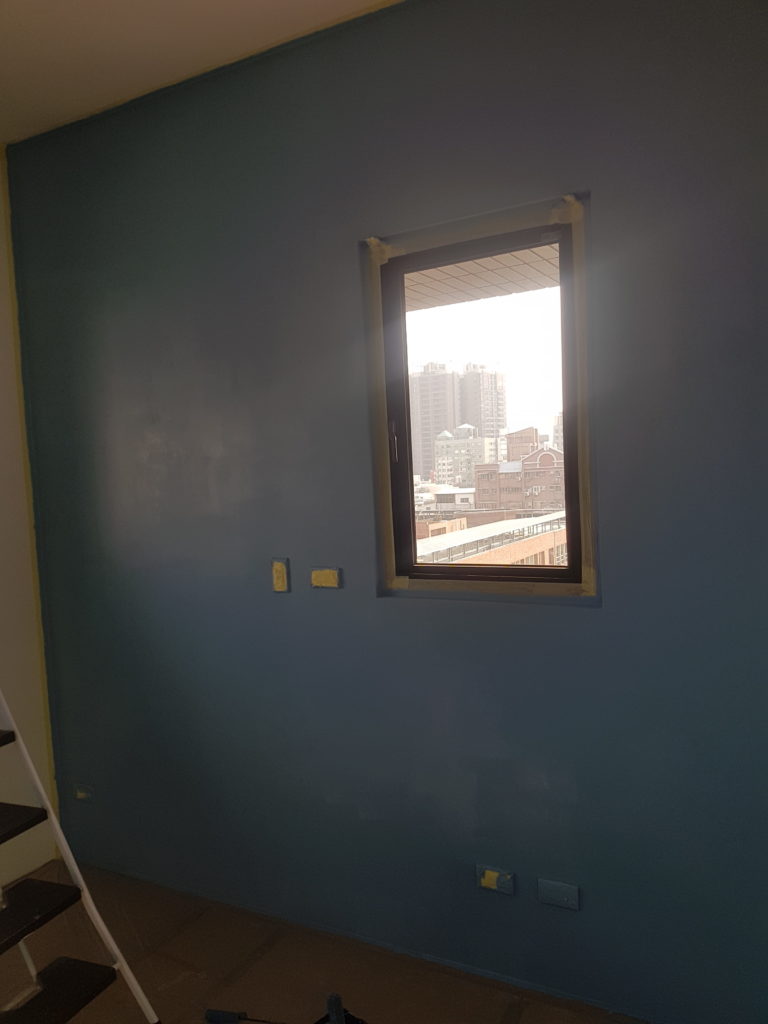
We decided to make an additional wall blue.
Once all those small tasks were done it was time for furniture. The apartment isn’t very big so we wanted to utilize the space as well as possible. The trickiest area was the corner by the entrance door (behind the door when it’s open). The problem was that the electrical cabinet with all the circuit breakers and such is right there and we need to leave that accessible for maintenance purposes. We simply couldn’t find any commercially available furniture that would fit into that space; they would either be so wide that they blocked the cabinet, or so deep that the entrance door couldn’t be opened fully.
The solution? I sat down and designed a kind of shoe rack/wardrobe thing that would fit this space, in Sketchup. We then took my design to a company that produces custom furniture and they worked with us to create something according to my design. While we were there we also ordered a couple of other pieces of furniture as well.
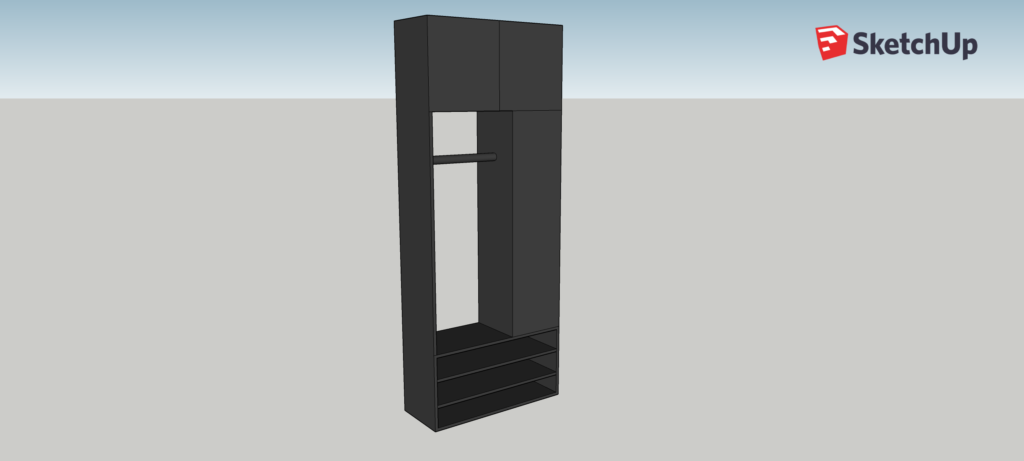
My sketch of the entrance closet 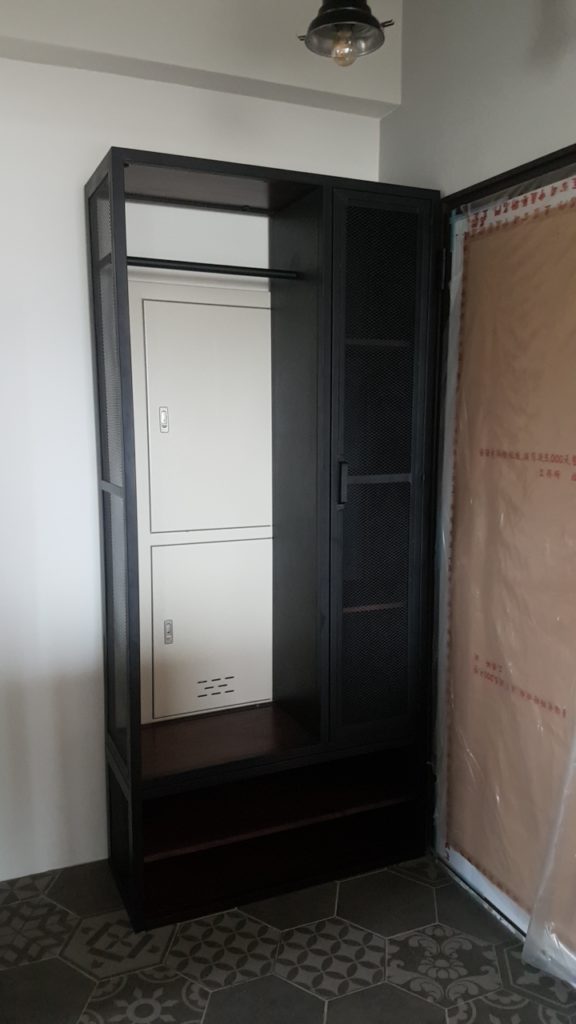
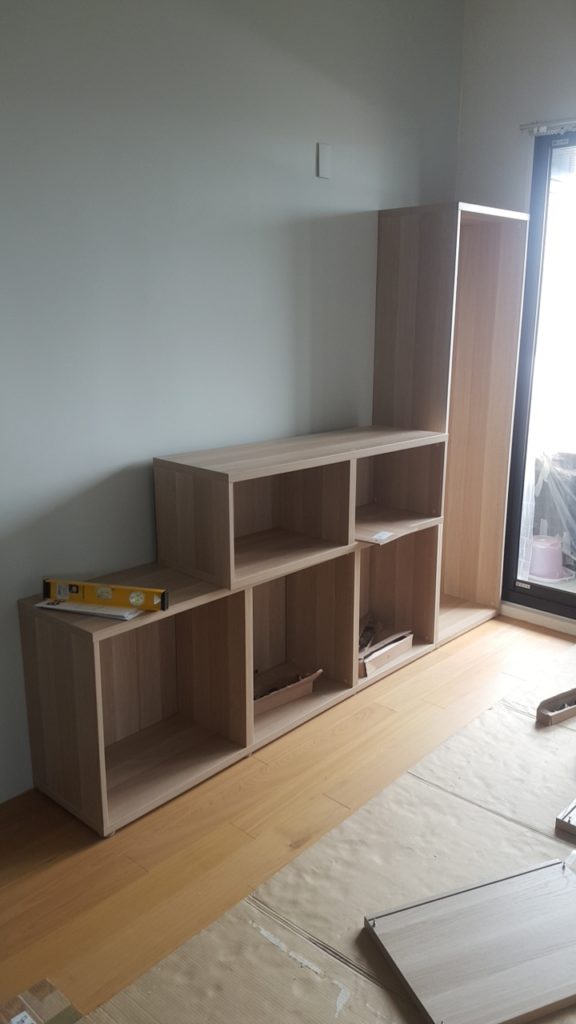
The finished product 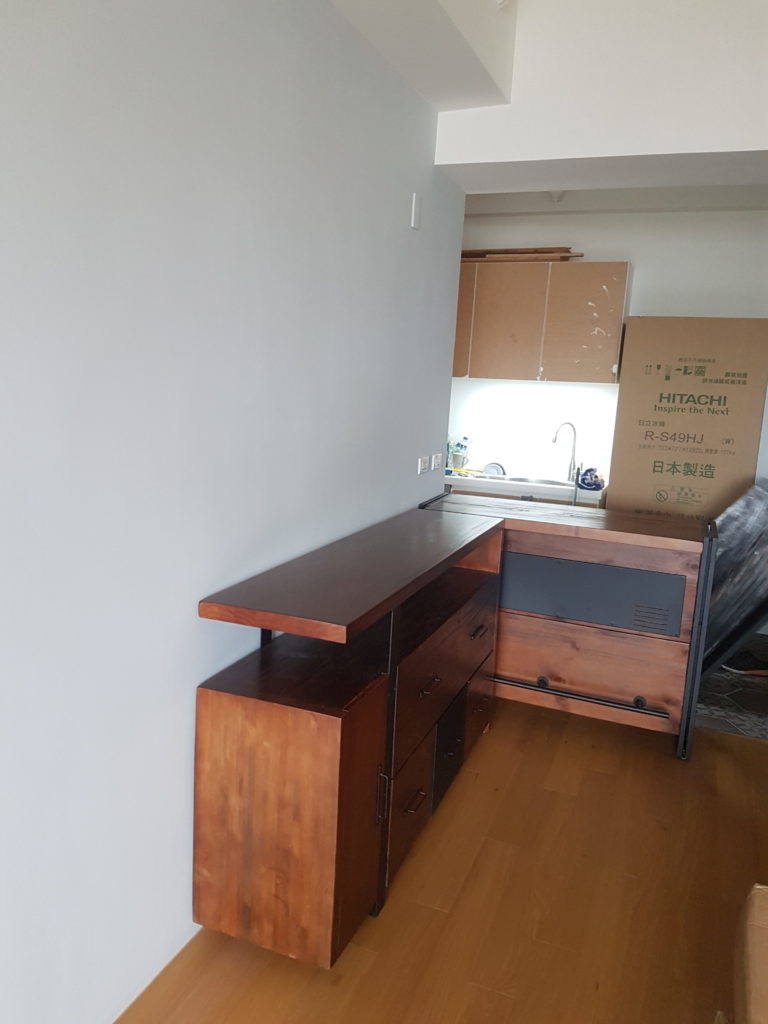
The other furniture from that company
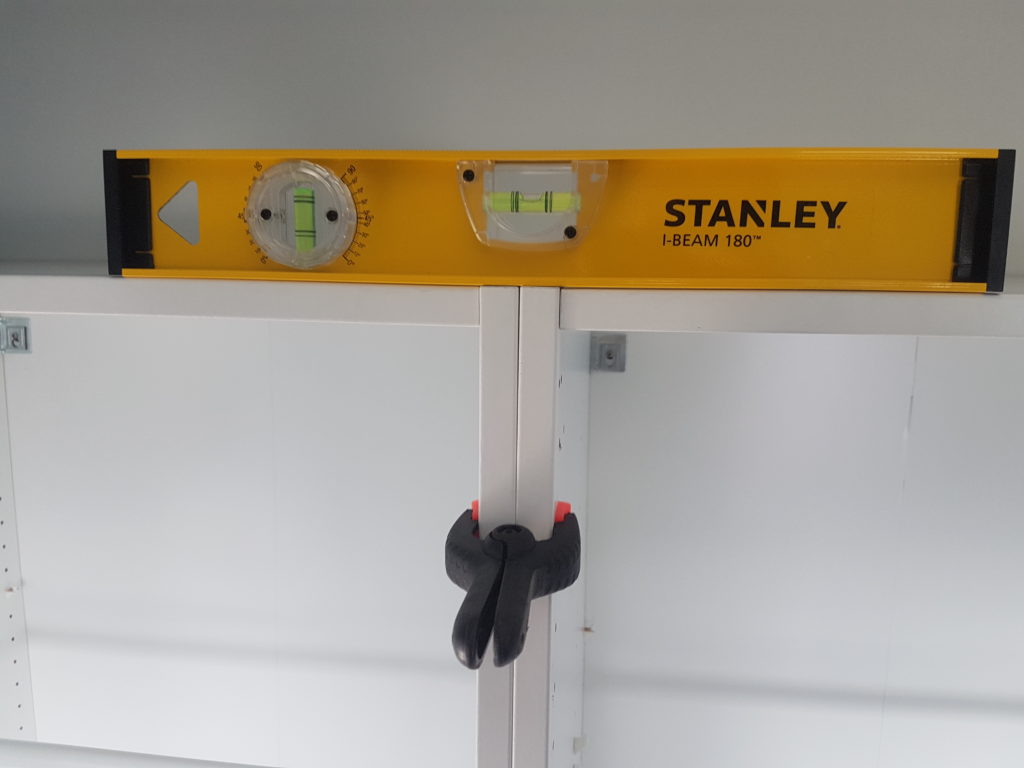
Once we had the custom furniture it was time for the part I was most looking forward to: assembling IKEA furniture, starting with the wardrobe. I built the frames while Yini was busy assembling the drawers.
Ah, perfect! 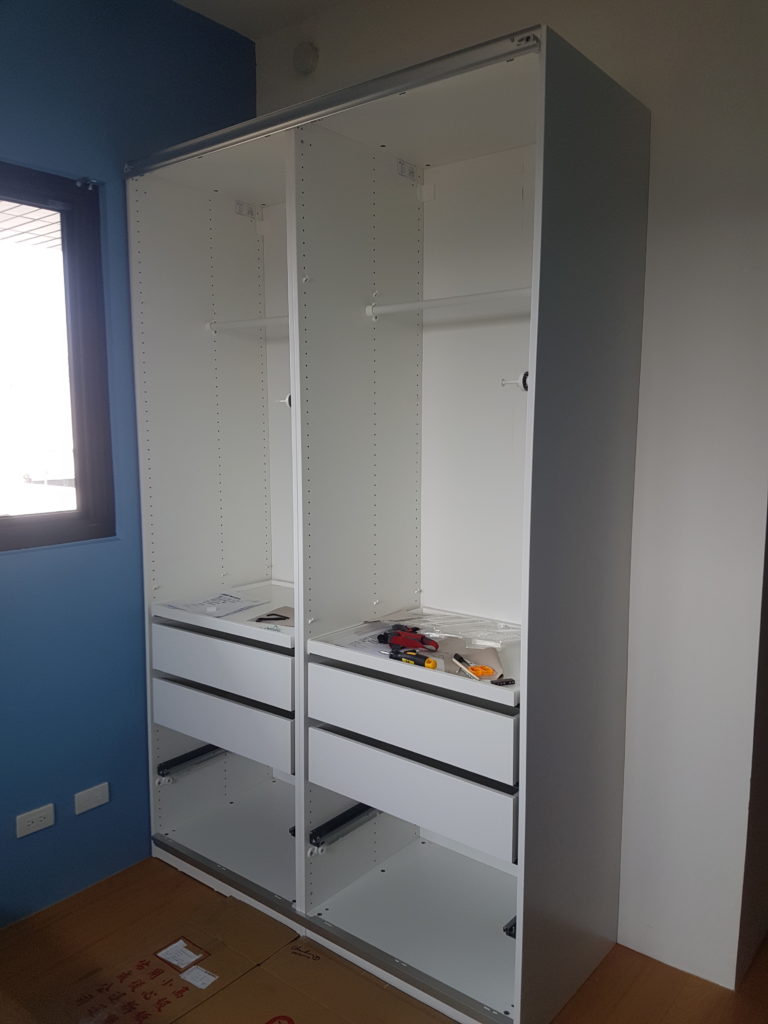
The base is ready for mounting the doors 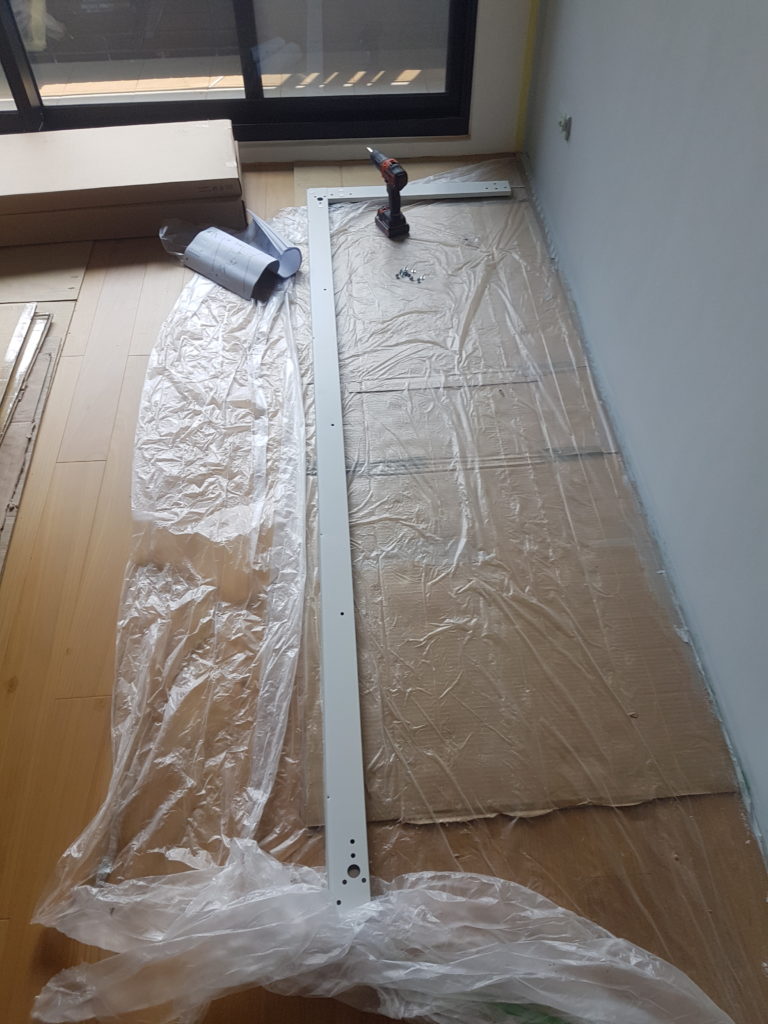
Starting the door assembly 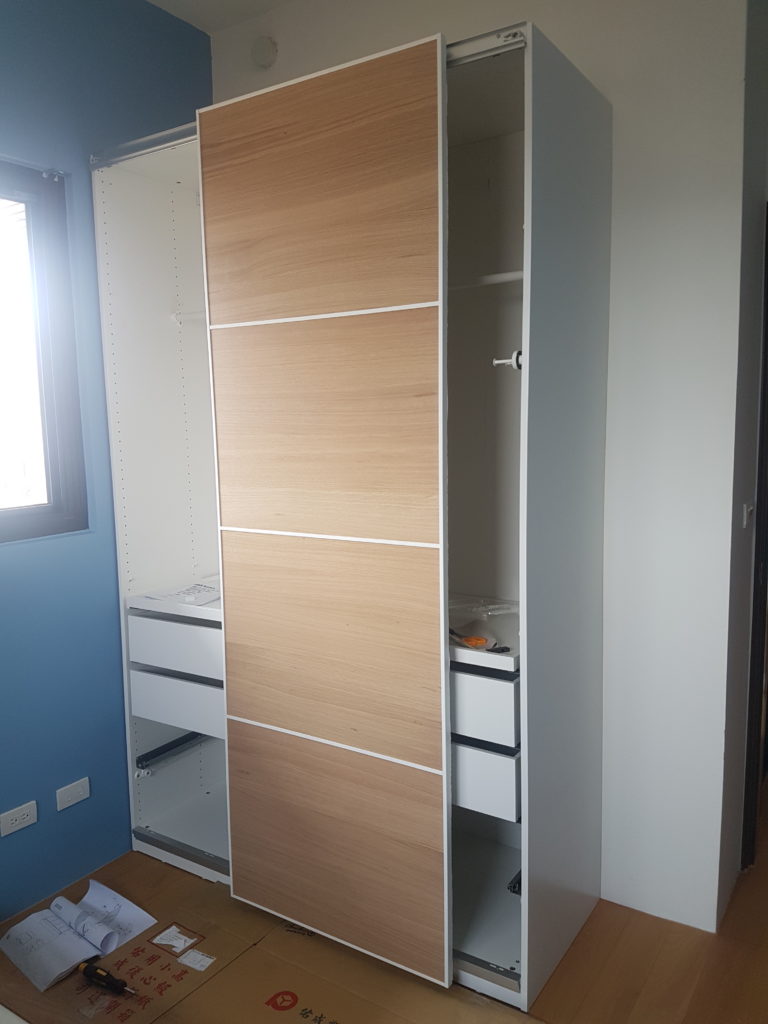
First door in place 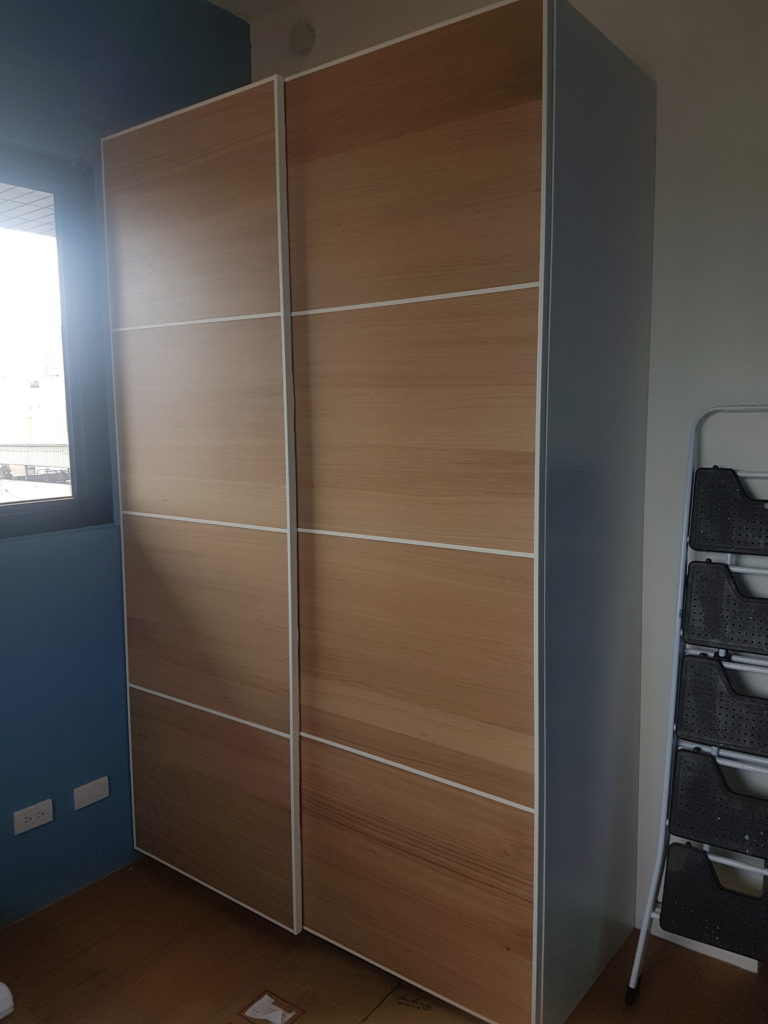
Wardrobe done!
When the wardrobe was done I built the bed, unfortunately I forgot to take photos of the process. With that the bedroom was more or less done and we decided to move in. That way we could get some stuff done every day after work instead of waiting for the weekend. We lived in our semi-finished apartment for almost three weeks, getting things ready bit by bit. Not super comfortable but it felt nice to see the place more and more ready every day.
TV furniture on the way 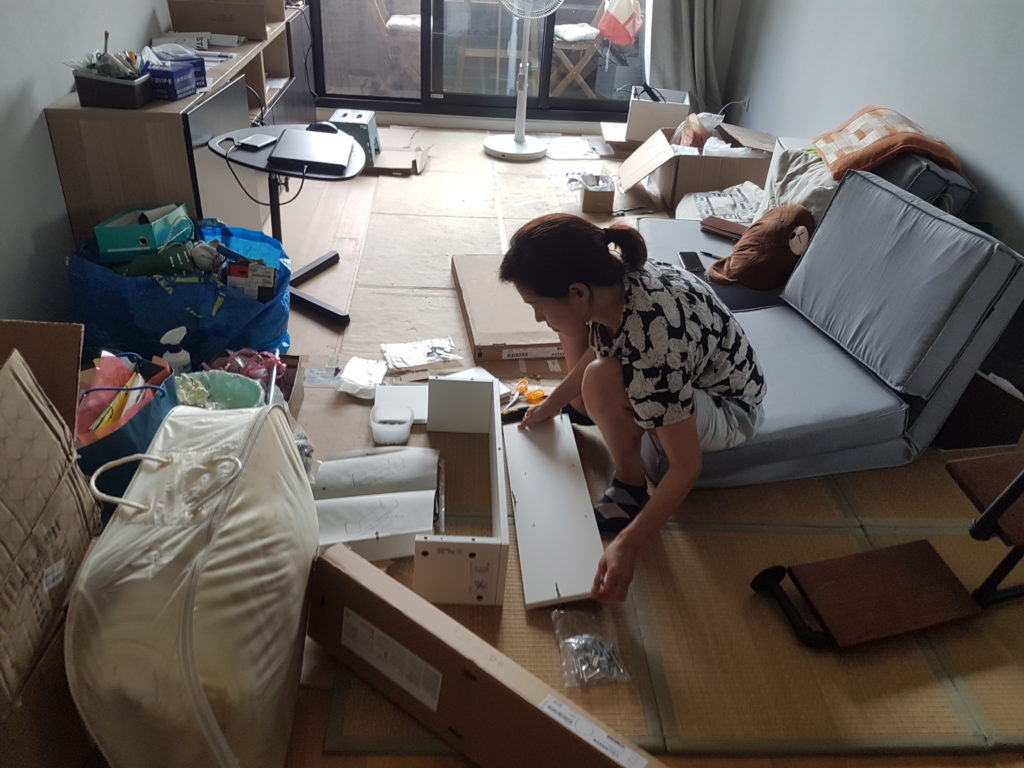
Yini assembling furniture in our half finished living room
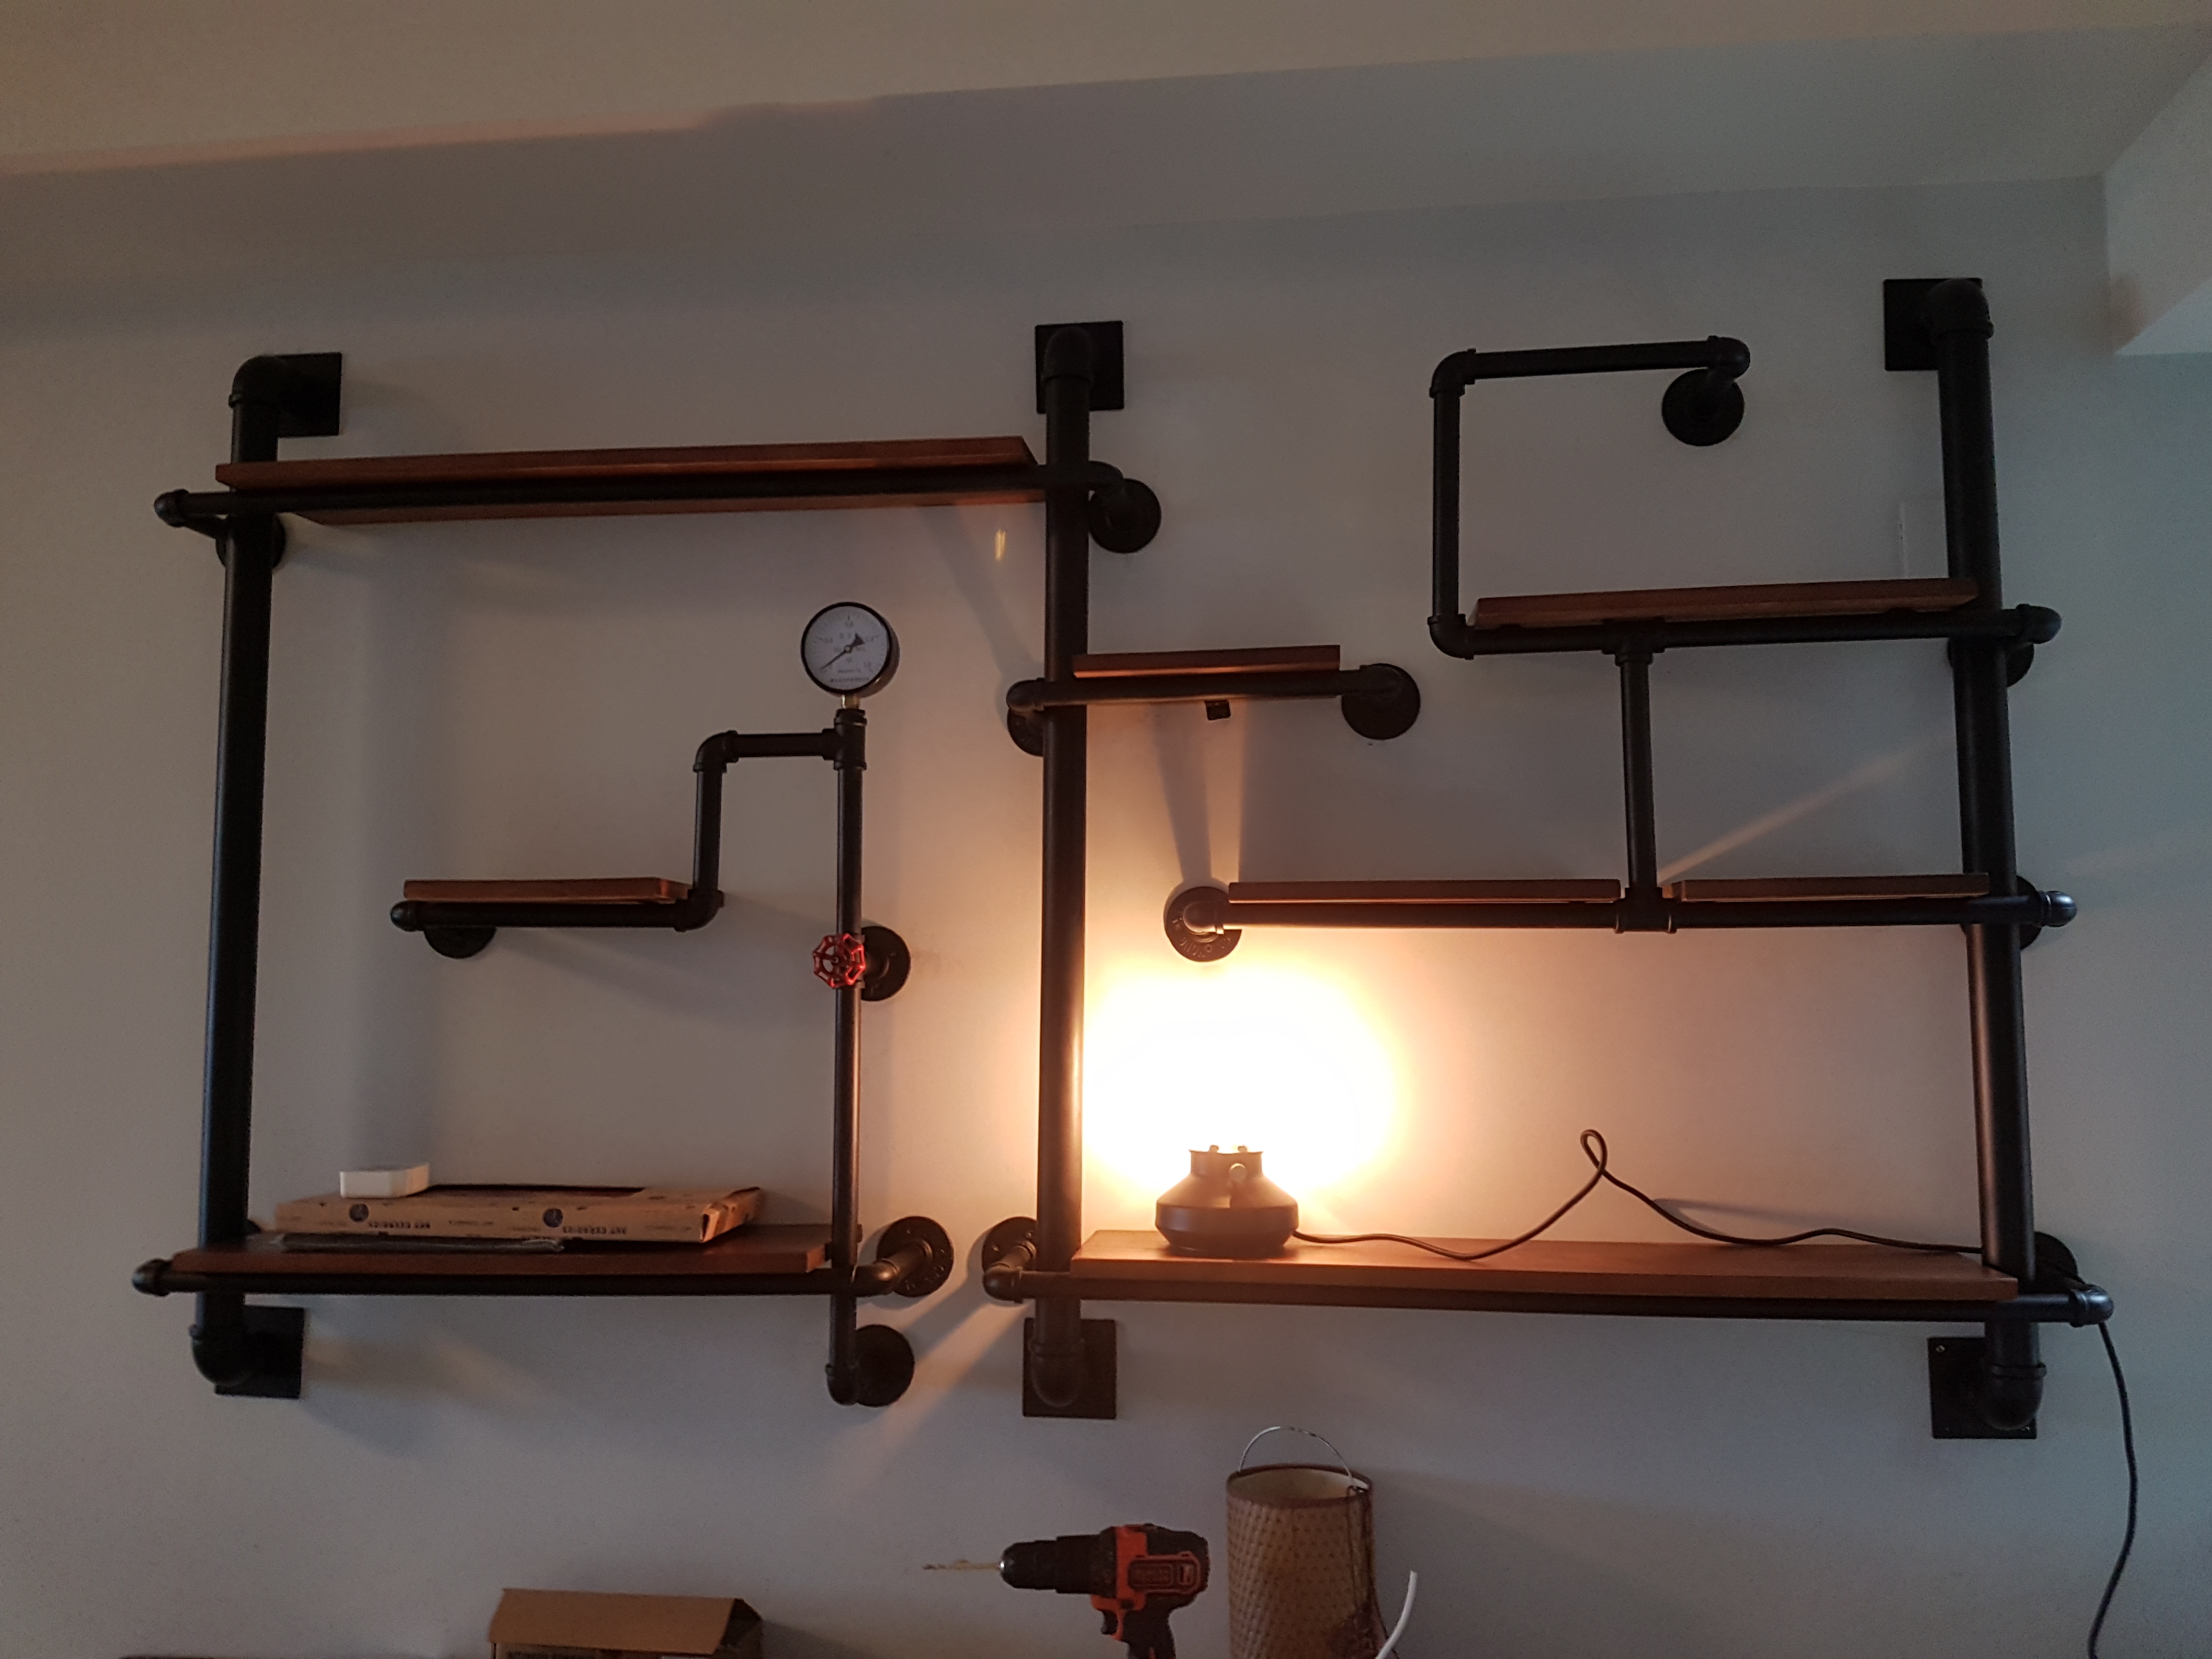
The most difficult furniture to assemble was a set of shelves that had to be mounted on the wall. The shelves are supposed to go together in a certain way but each shelf is an individual piece that gets installed on the wall. Essentially it’s like a big puzzle but the pieces don’t connect to each other. Hopefully the gifs below show how complicated this was.
Another tricky part was the bathroom mirror. The construction company had installed a bathroom mirror but we wanted a cabinet so we decided to take it down. The trouble was that it had been glued to the wall with silicone. Try as I might I just couldn’t get it down in one piece. In the end Yini suggested stop trying to keep it intact and just take it down with a chisel and hammer. It worked but there was a lot of broken glass everywhere afterwards.

Hammer and chisel 
The process of taking down a mirror piece by piece 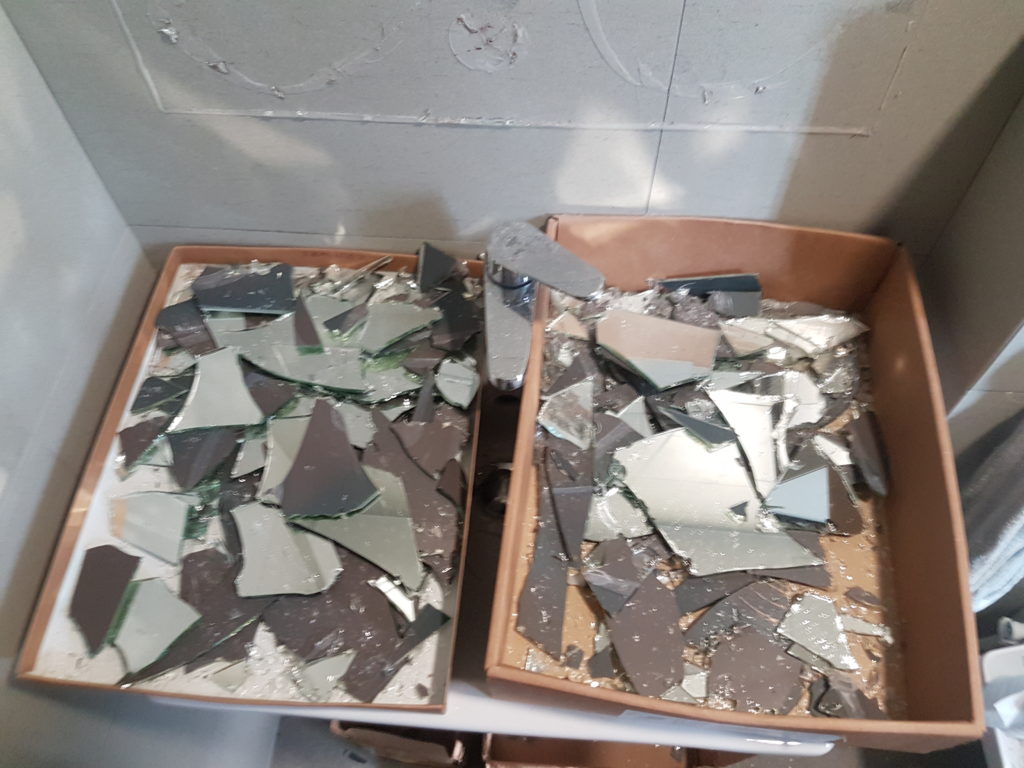
Lots of broken glass 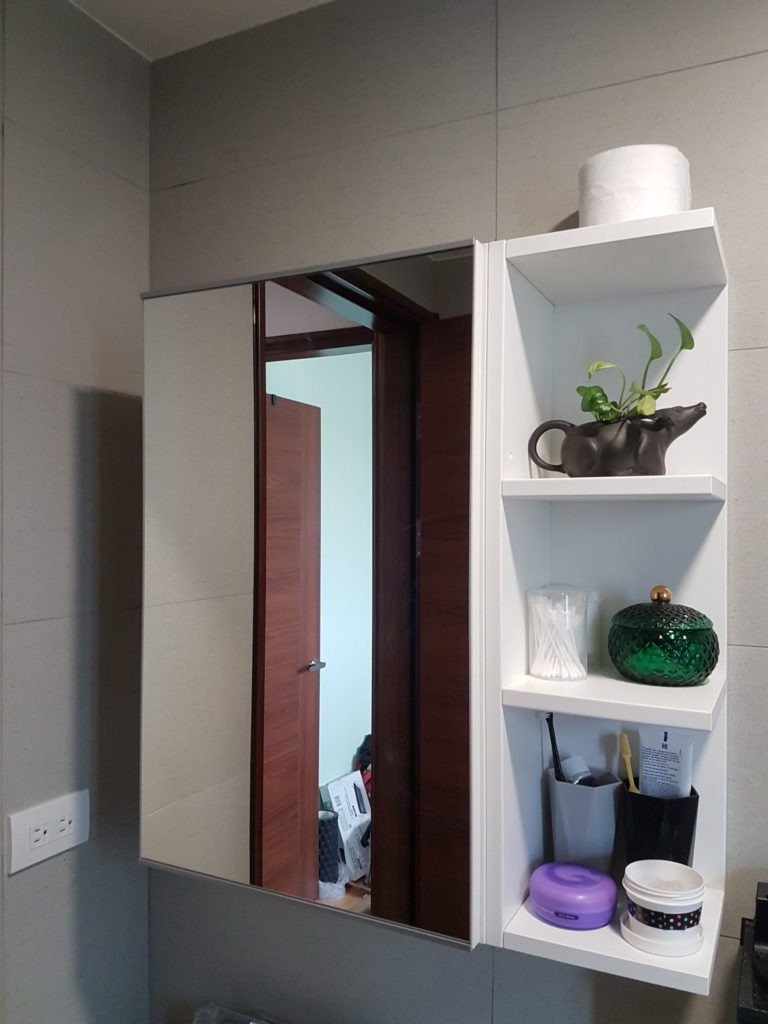
The cabinet is on the wall, I think it looks better than just the mirror.
The mirror cabinet was the last piece of furniture that needed to be installed. The rest has basically just been standard IKEA furniture. As i’m writing this I slightly regret not taking photos of those assembly processes too, but it didn’t feel important at the time, so I have nothing to show.
After living here for a while we started noticing that the LED lights we installed would be flashing or glowing when they were turned off. Some research showed that you need something called a snubber circuit and the easiest way to create one was to install an old fashioned incandescent light bulb on the same power line. I tried this with the most problematic light and it worked but that meant having an extra, unwanted light whenever you turn on the light. Yini did some more research and eventually found some cheap snubber circuits from China.
If you are having similar problems with LED lights I recommend connecting snubbers to them. You connect the snubber across the input of the LED driver, in parallel with the input power. Note, we got snubbers made for the type of light switches we have so you might need to search around a bit to find some that suit your home.
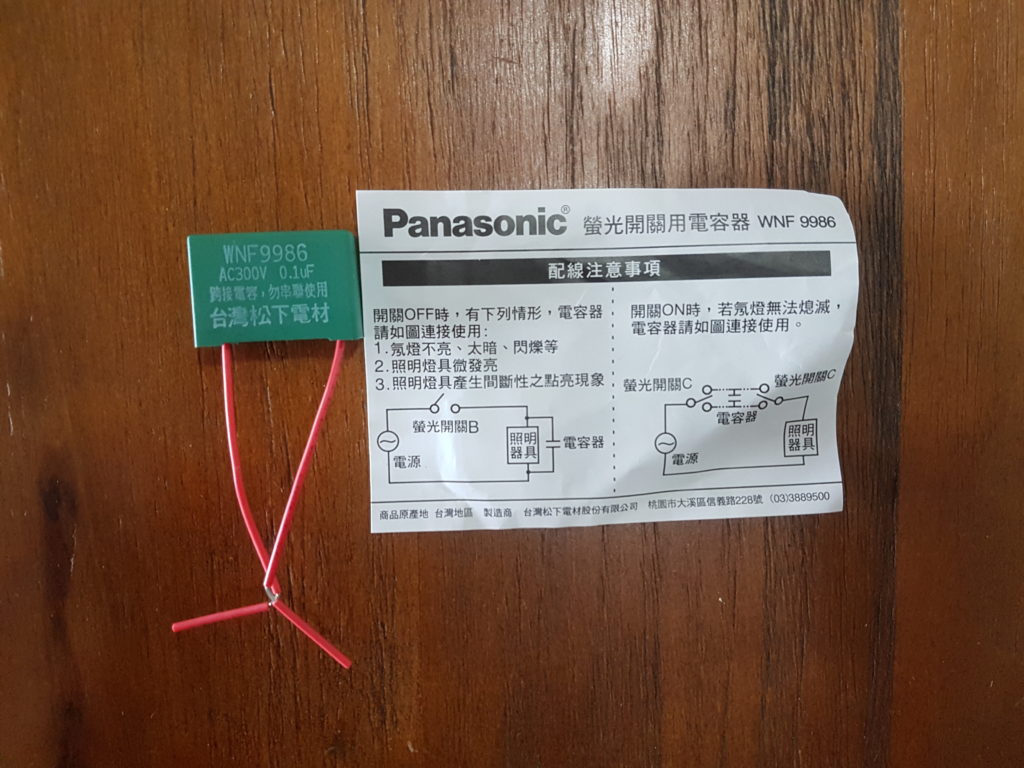
Snubber circuit and the little data sheet from the package 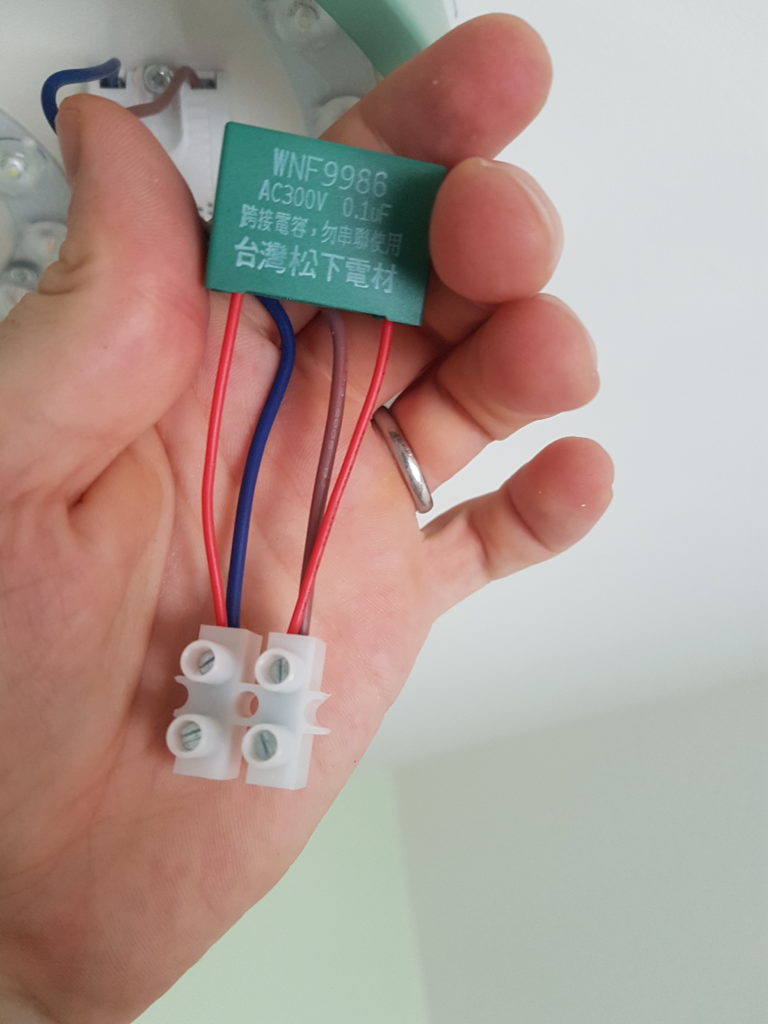
I connect it across the input terminals. As far as I can see there is no positive or negative side, any old way seems to work. 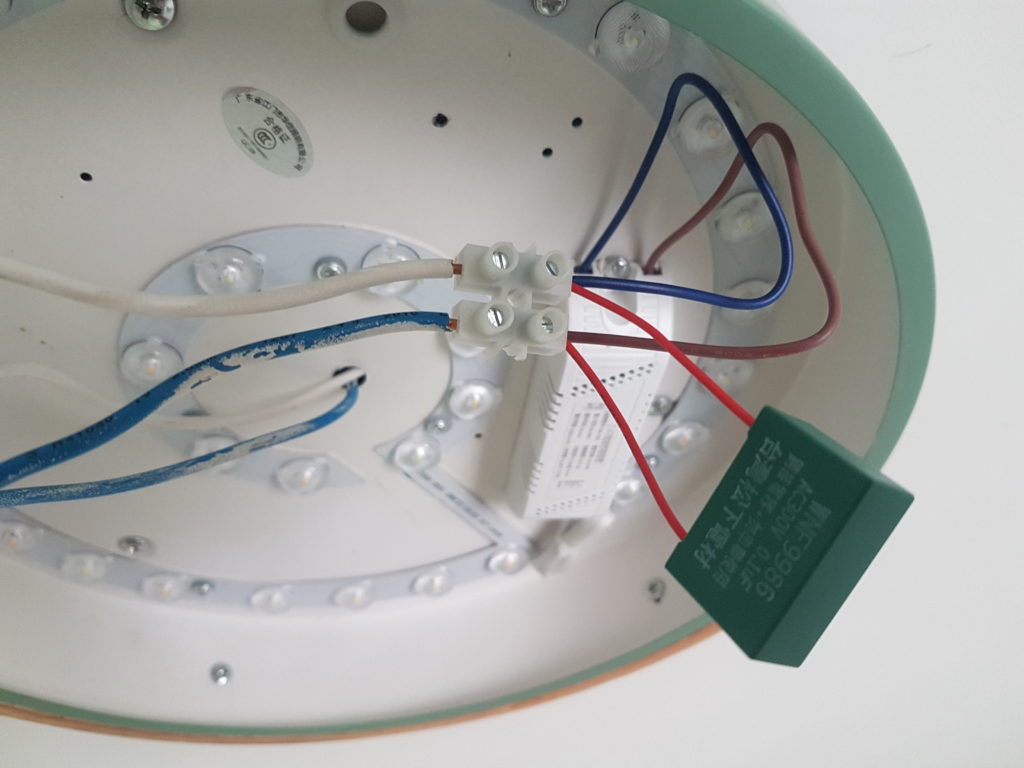
Input power connected 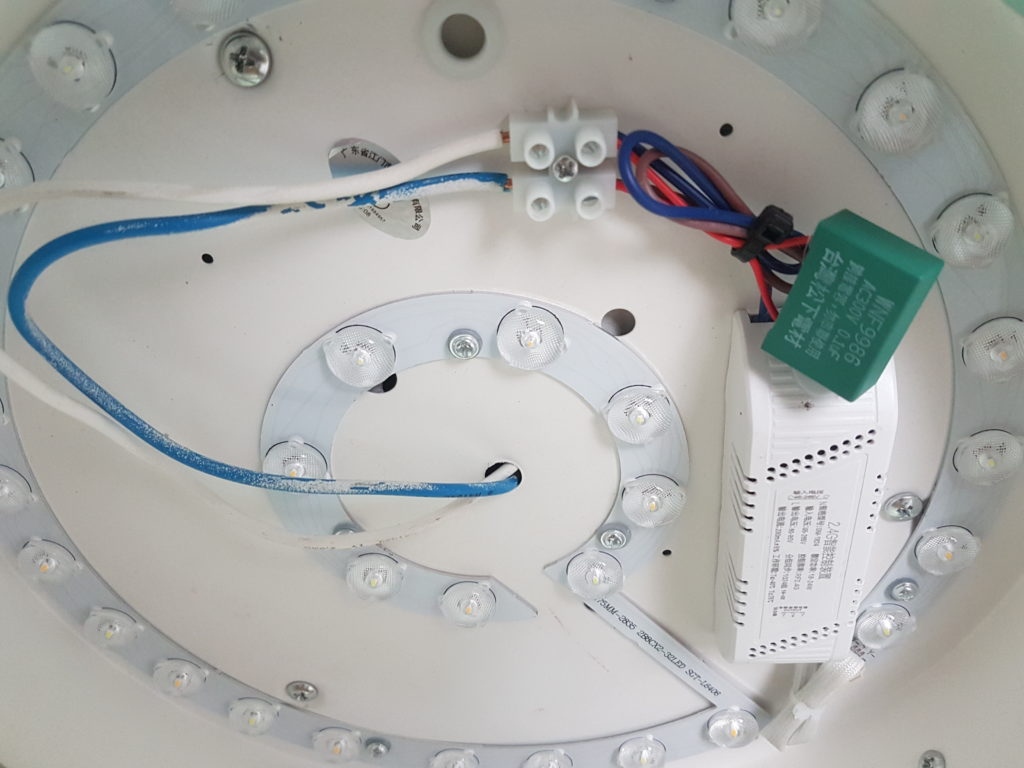
I used a cable tie to tidy things up a bit.
Before I finish this post I would like to say that while I was doing most of the actual DIY work, Yini did nearly all the administrative stuff like ordering furniture and so on. I’m pretty happy with the results, though there are some imperfections here and there. Overall I really like the way our apartment turned out. Here’s a short film to show it off:
Leave a Reply