Back in May I wrote this article about building a passive AC. That time I attached it to the front of our living room fan and I found that while the principle worked the air flow was too low to give effective cooling. I also mentioned that I would like to try to fit one in a window to cool down the incoming air. Now, I’ve finally had a chance to test this concept.
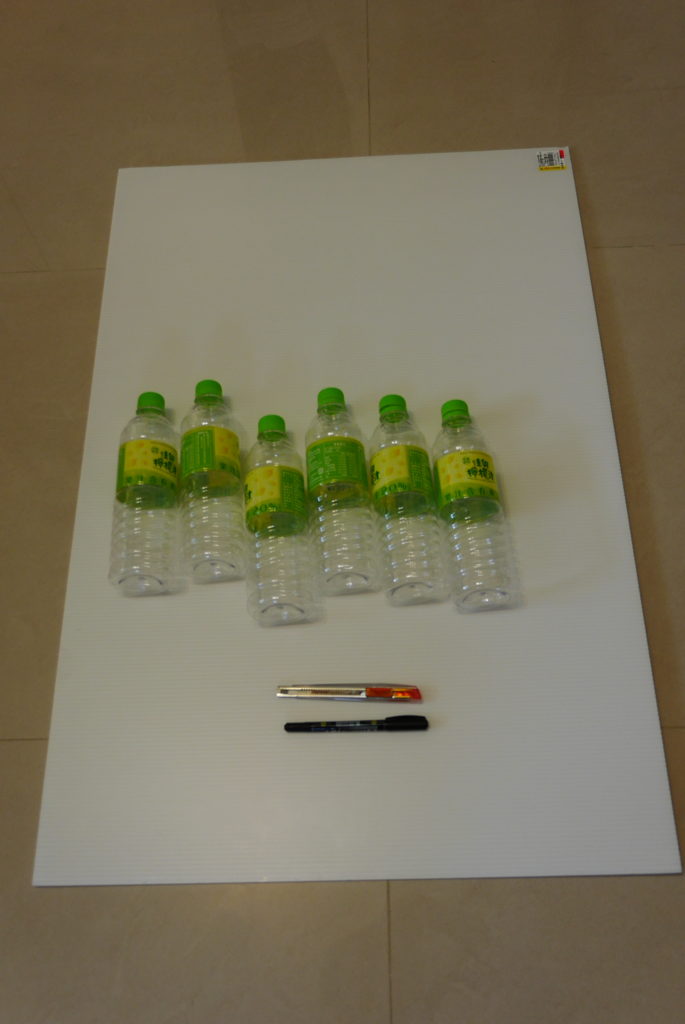
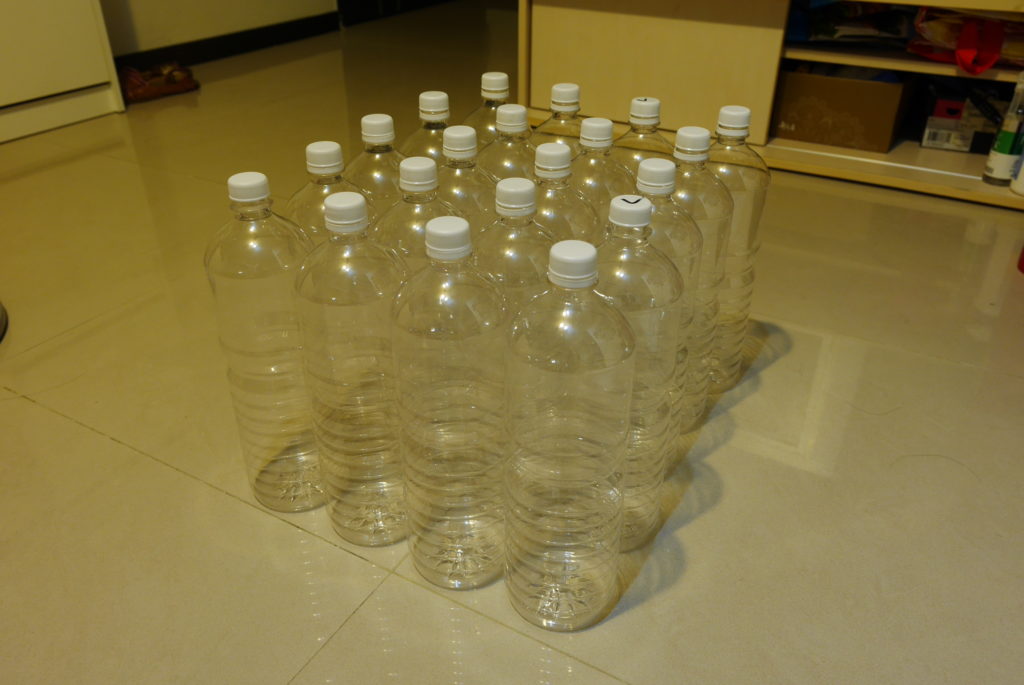
The working principle is the same, as the air passes through the funnel it gets compressed which lowers the temperature. Last time I used standard 500 ml bottles but in theory the bigger the difference between the two openings of the funnel, the bigger the drop in temperature so I decided to go with bigger bottles. I measured the window I planned to put it in and calculated that I would need 20 bottles. The bottles I used came from a kind of herbal tea that my wife likes to drink, but she only finishes about one bottle a week, which is why it took me so long to finish this. Anyway, on to the build.
Materials:
For a backing board I used the same kind of plastic board as last time, cut to size to fit the window, and a bunch of large plastic bottles.
Step 1:
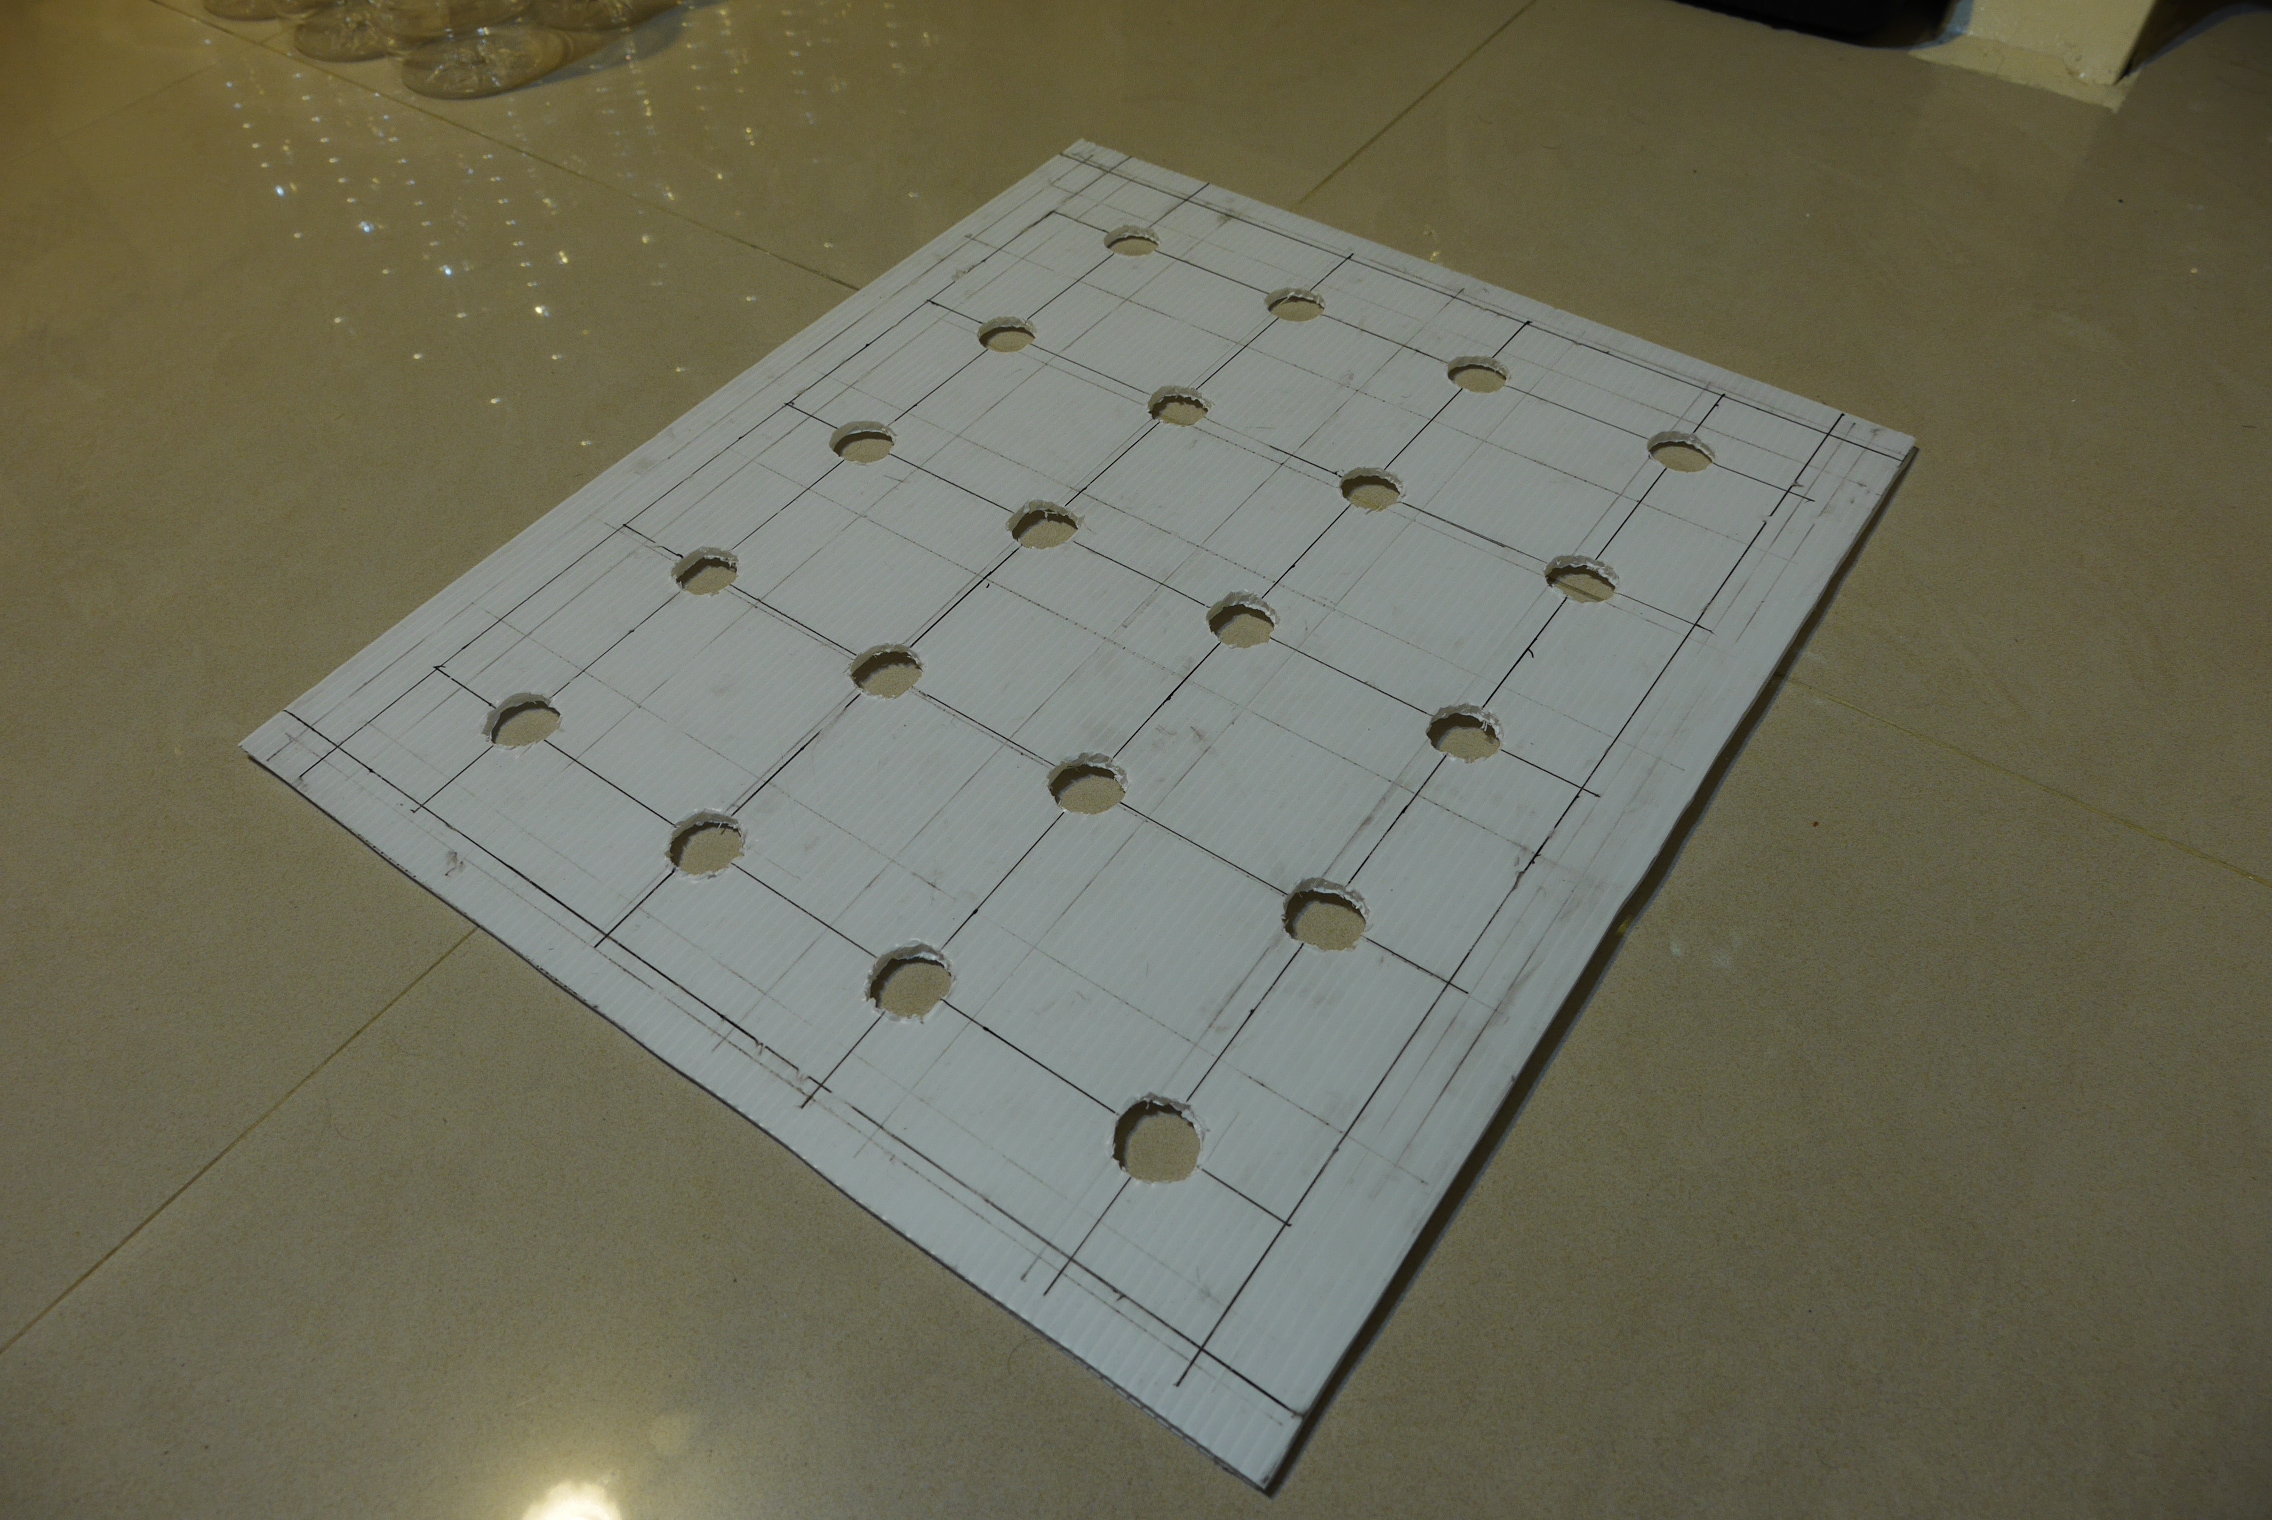
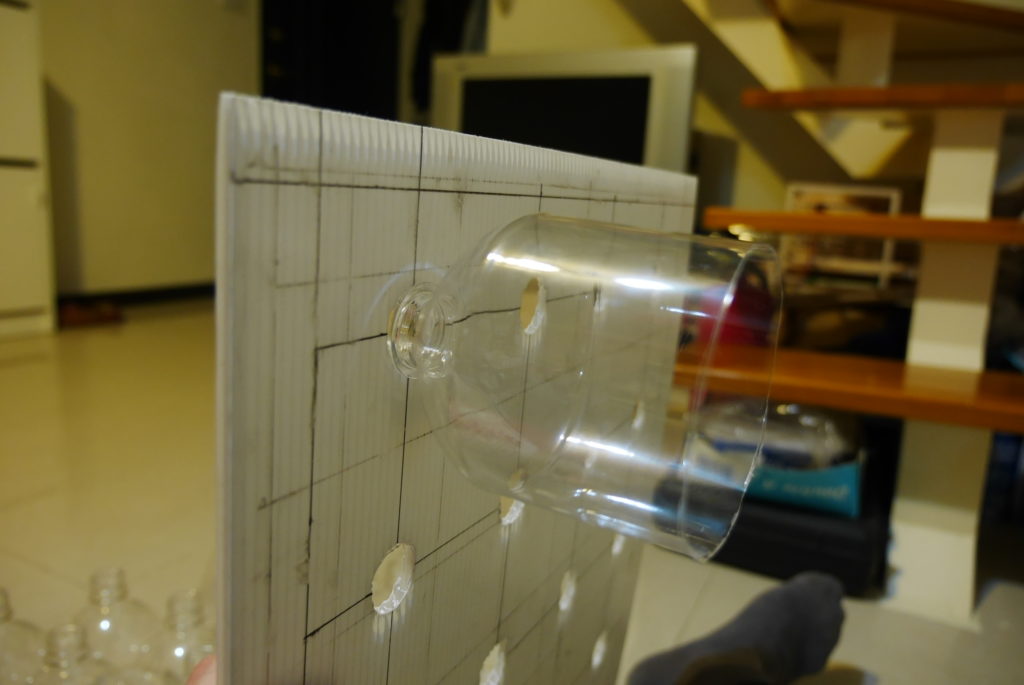
By measuring the diameter of the bottles and comparing with the size of my backing board I could calculate the maximum number of bottles I could fit which in this case turned out to be 20. I then marked out a grid on the backing board, with the crosses marking the centers of the bottles.
Step 2:
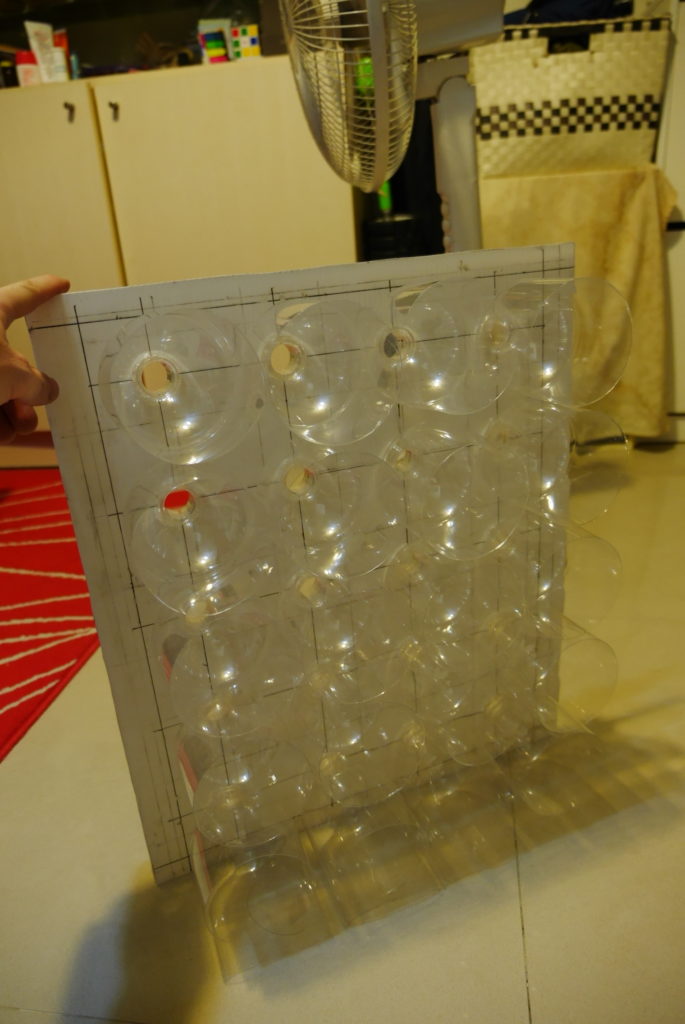
I measured the diameter of the bottle openings then cut circular holes in the backing board with the same diameter. Each hole is centered on one of the crosses in the grid. Unfortunately I forgot to take pictures of step 1 and 2, so I can only show you the backing board after all the holes had been cut.
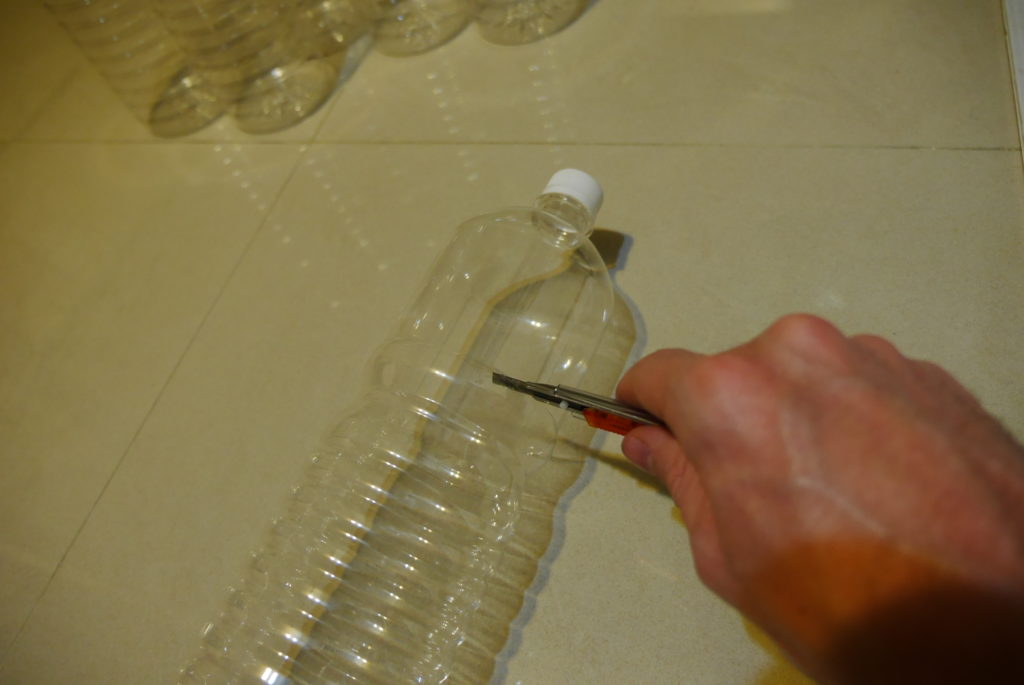
Step 3:
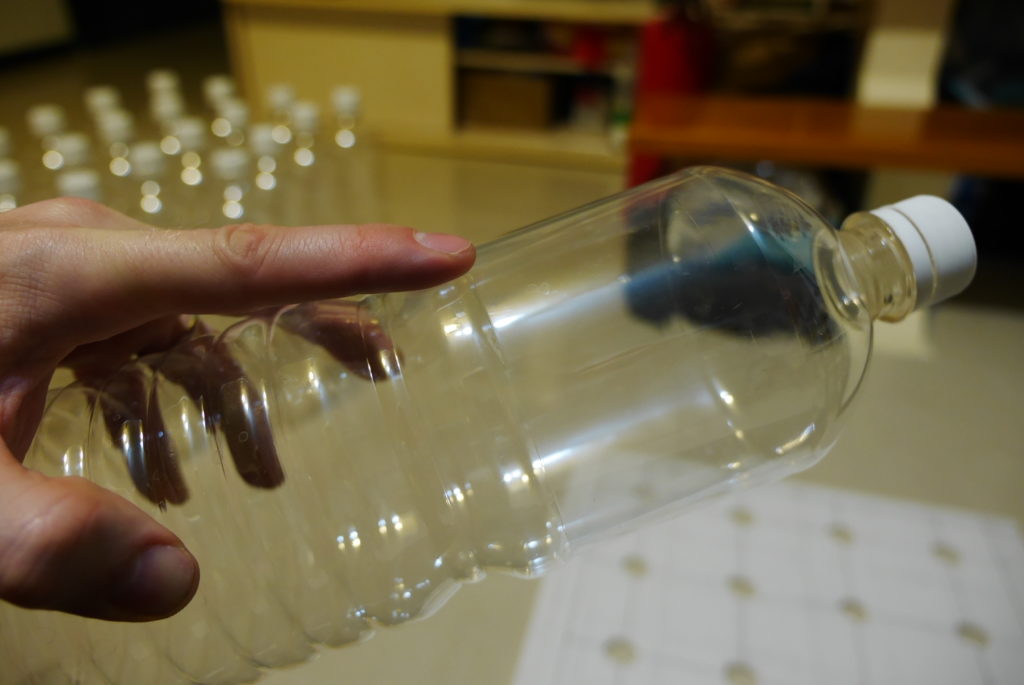
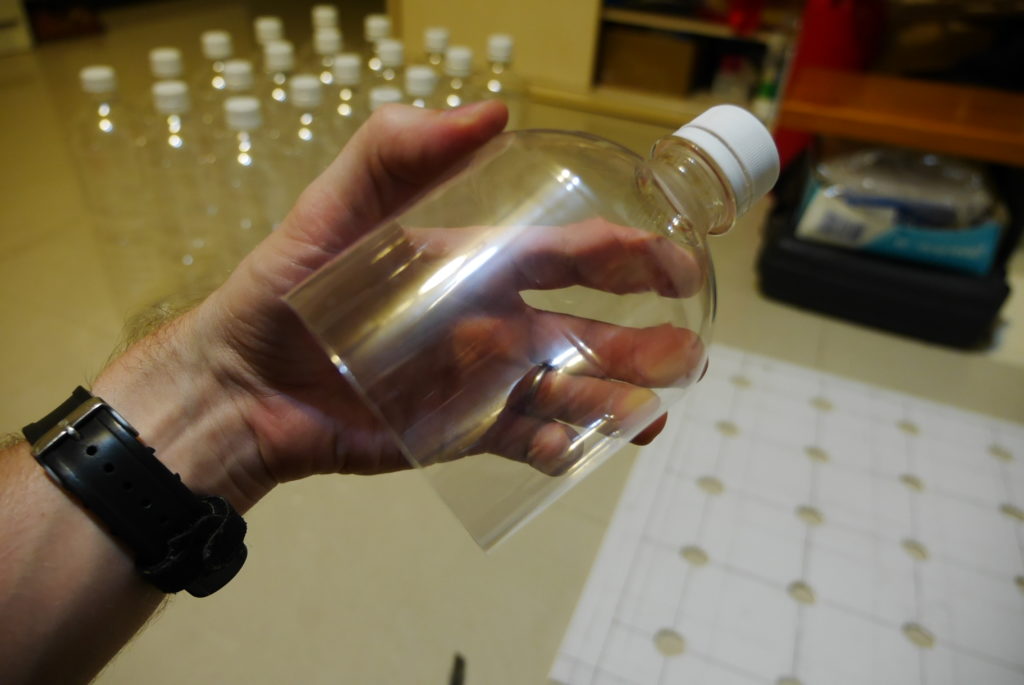
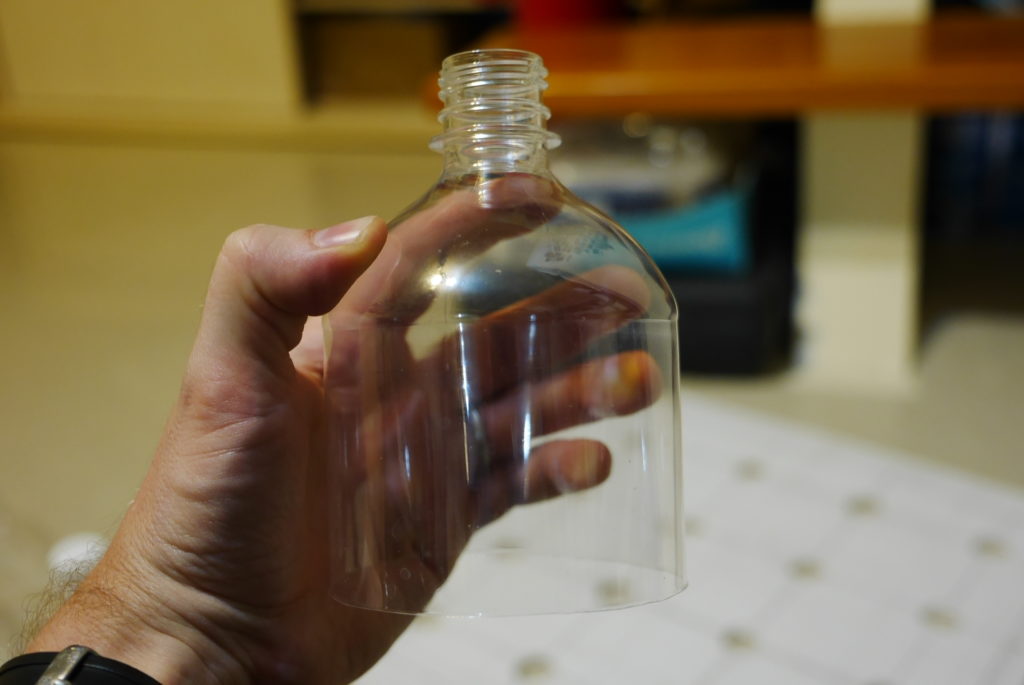
I cut the tops off all the bottles making sure they are the same height. The particular type of bottle I was using had a little ridge on them so I cut along that. Making perfectly straight cuts was harder than I had expected so I ended up having to trim the edges with a pair of scissors.

Step 4:
I planned to use the little flange at the top of the bottle to mount them in the backing board. To do this I had to remove the little sealing ring that is left on the bottle after you open the cap.
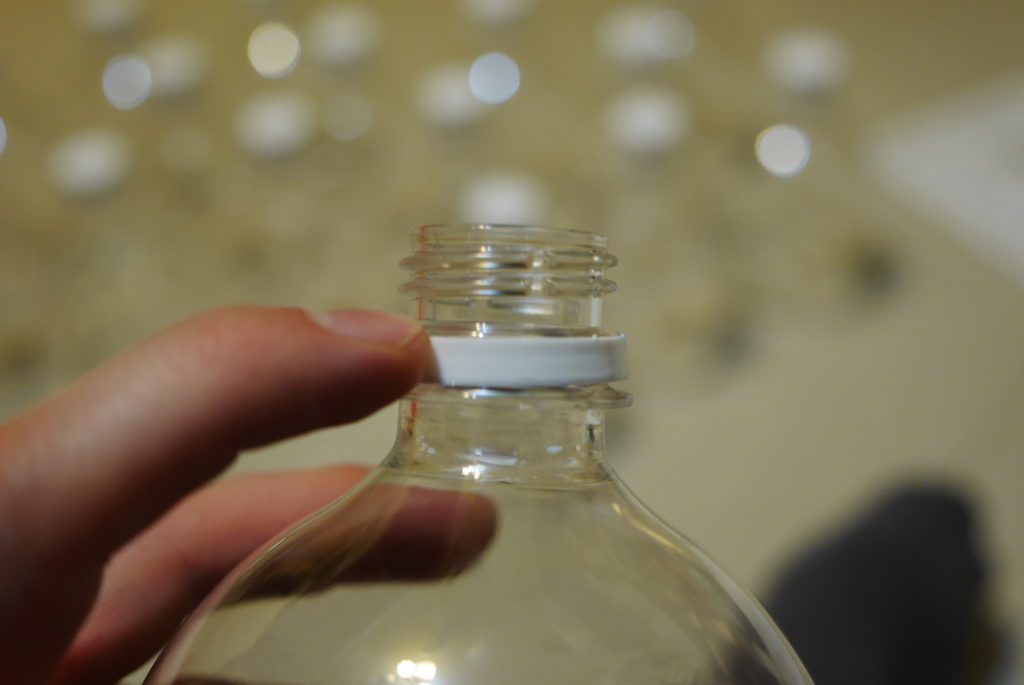
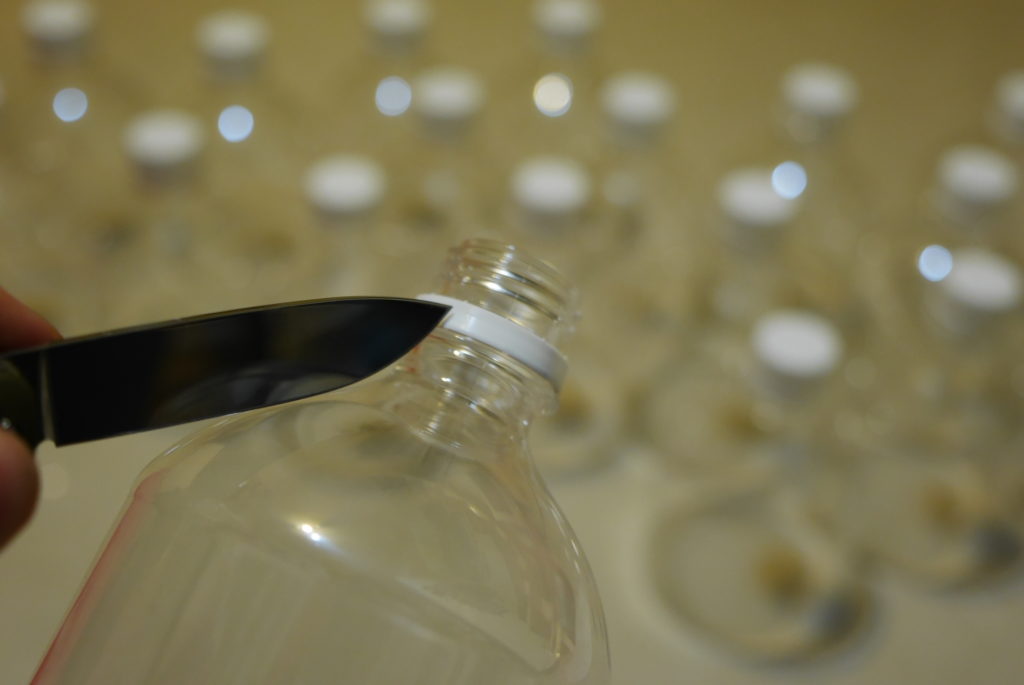
Once this was done all the bottles were ready for mounting on the backing board.
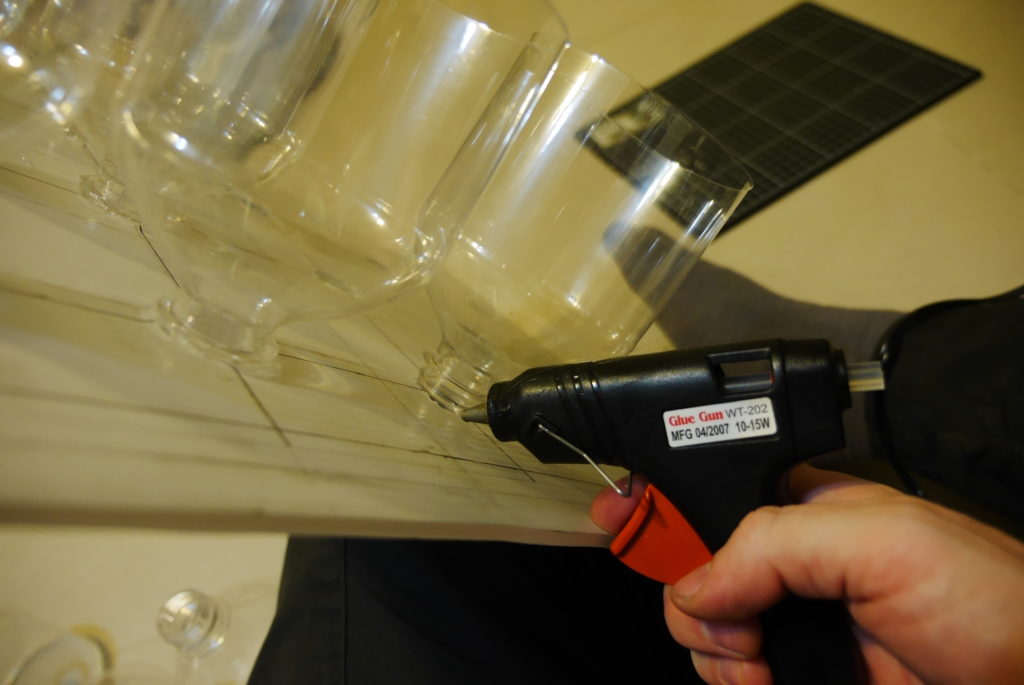
Step 4:
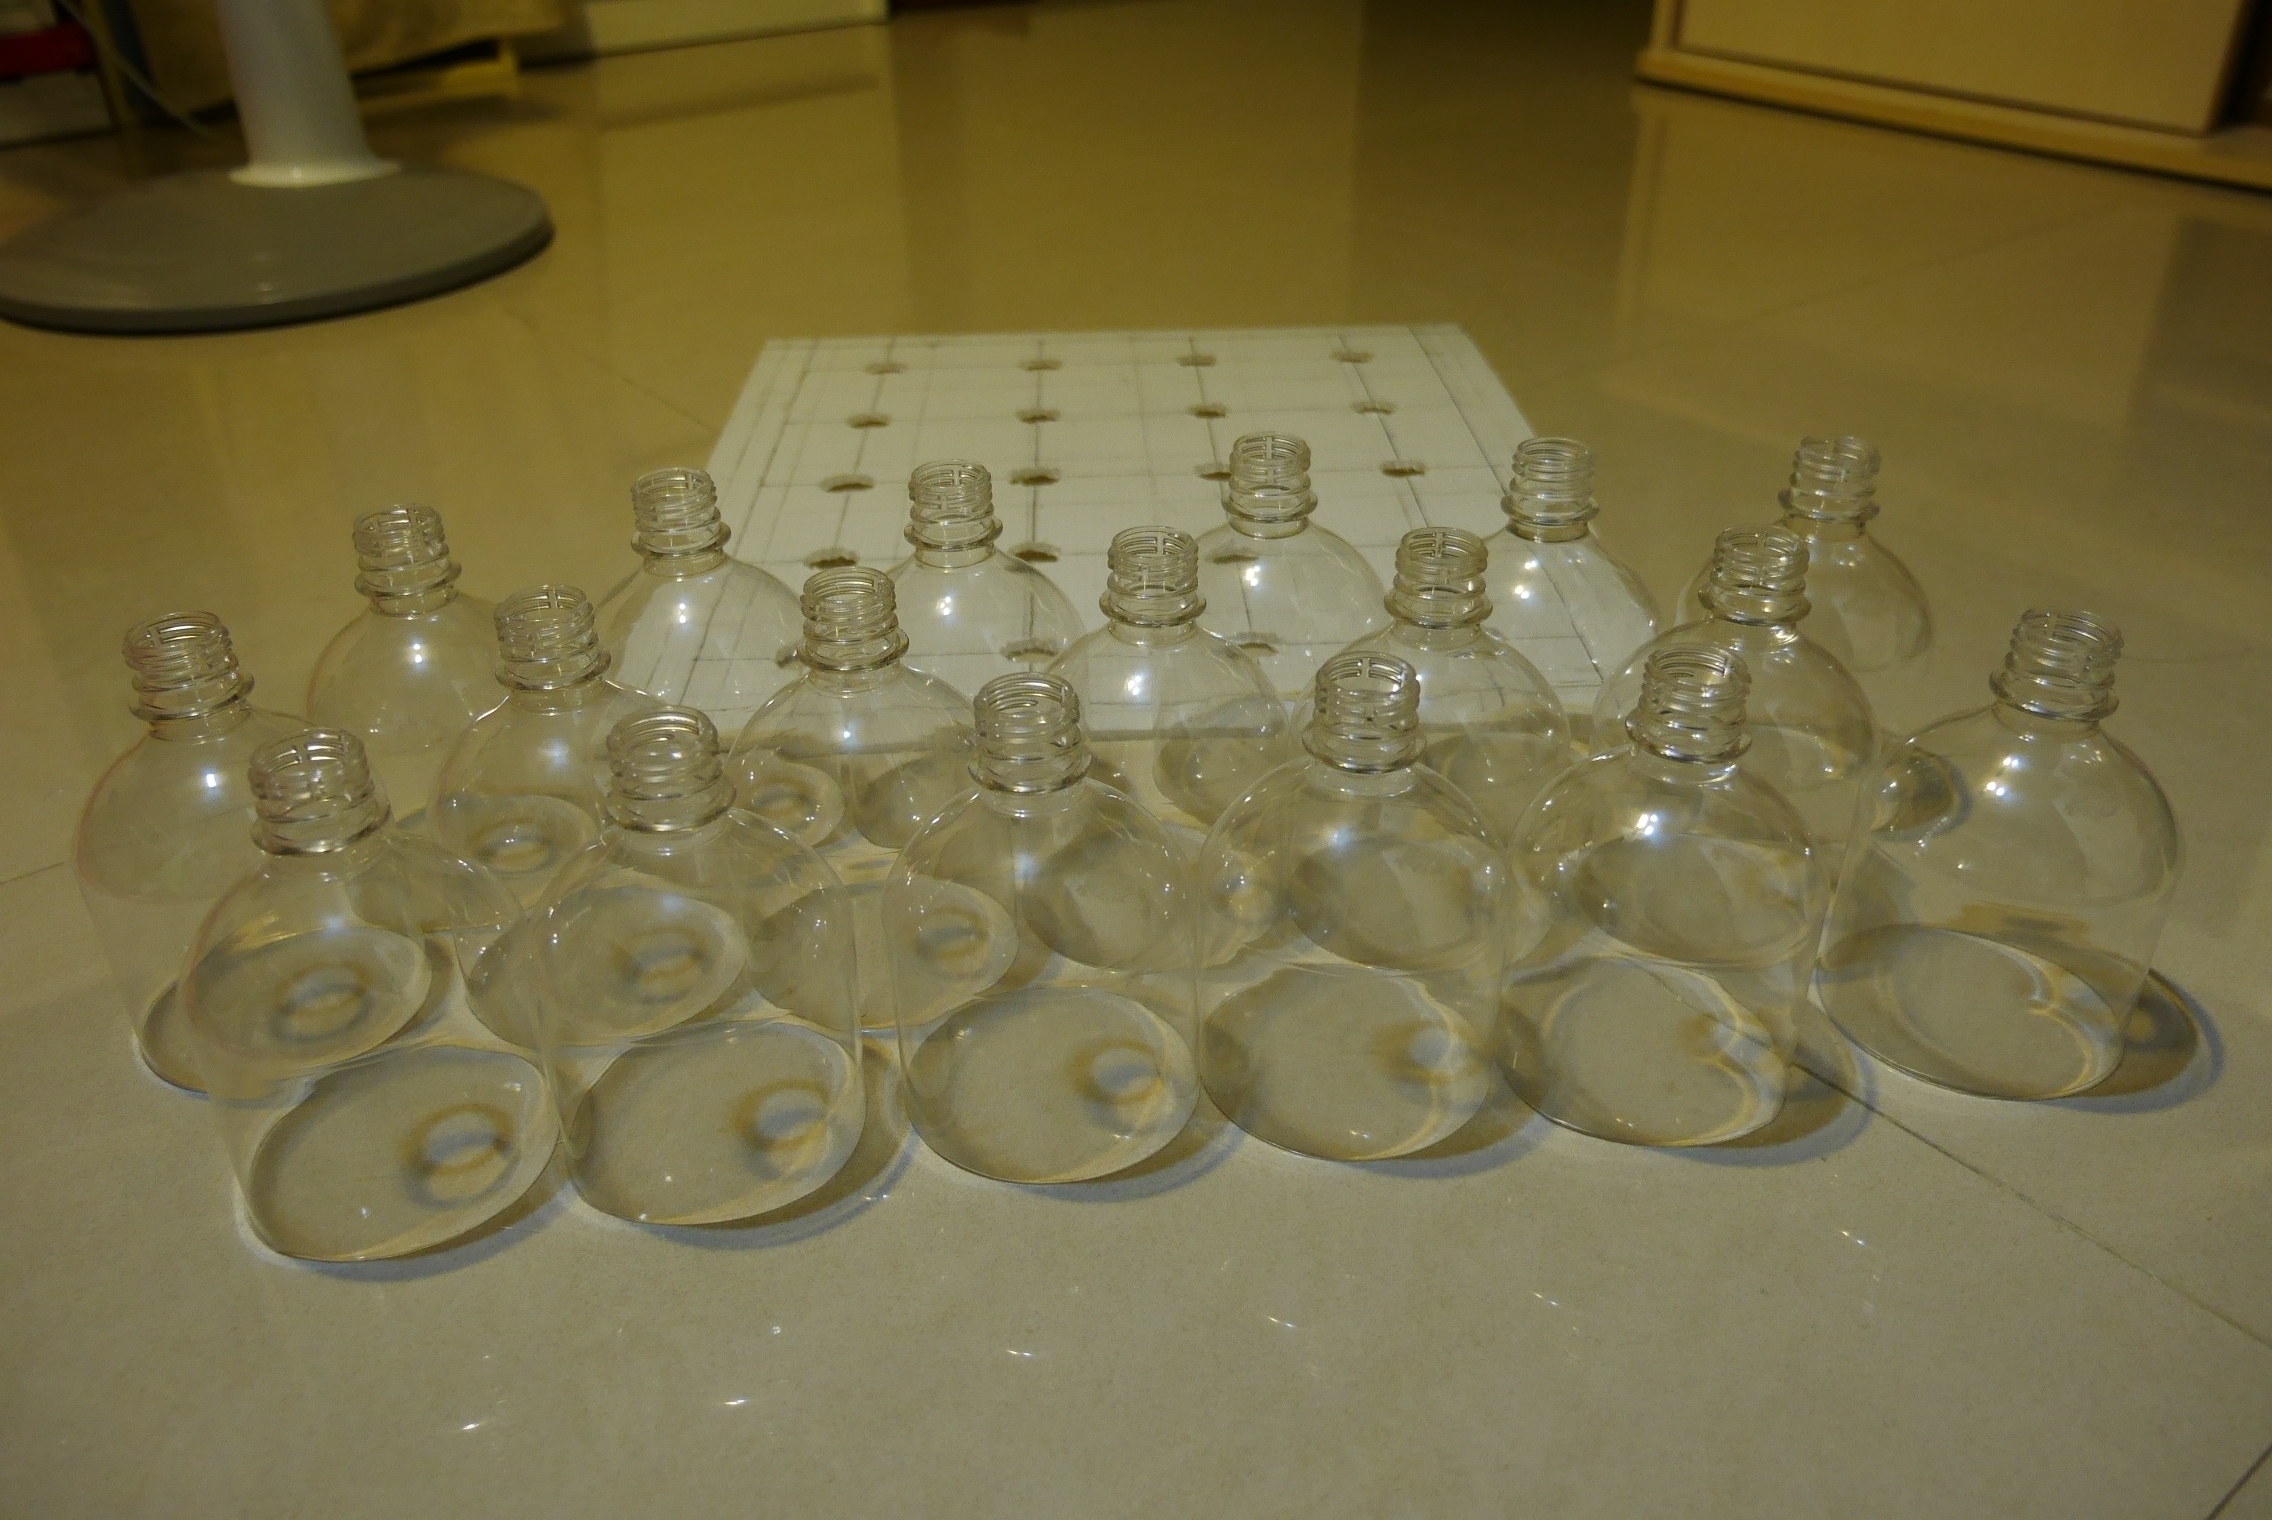
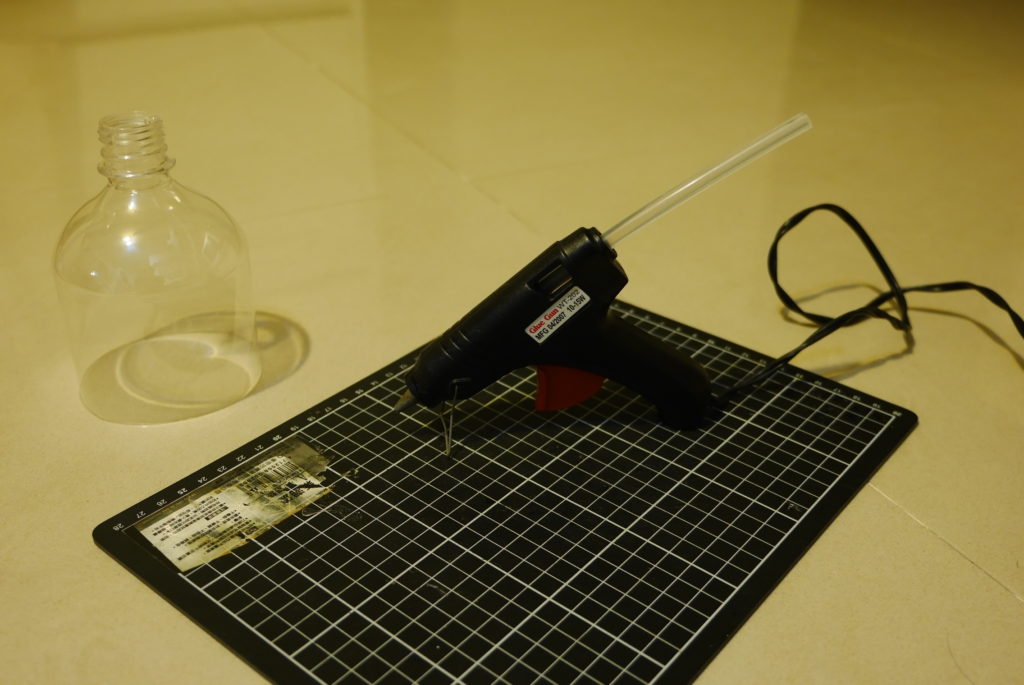
I pressed the bottles into the holes on the backing board then hot glued them in place, simple and straight forward.
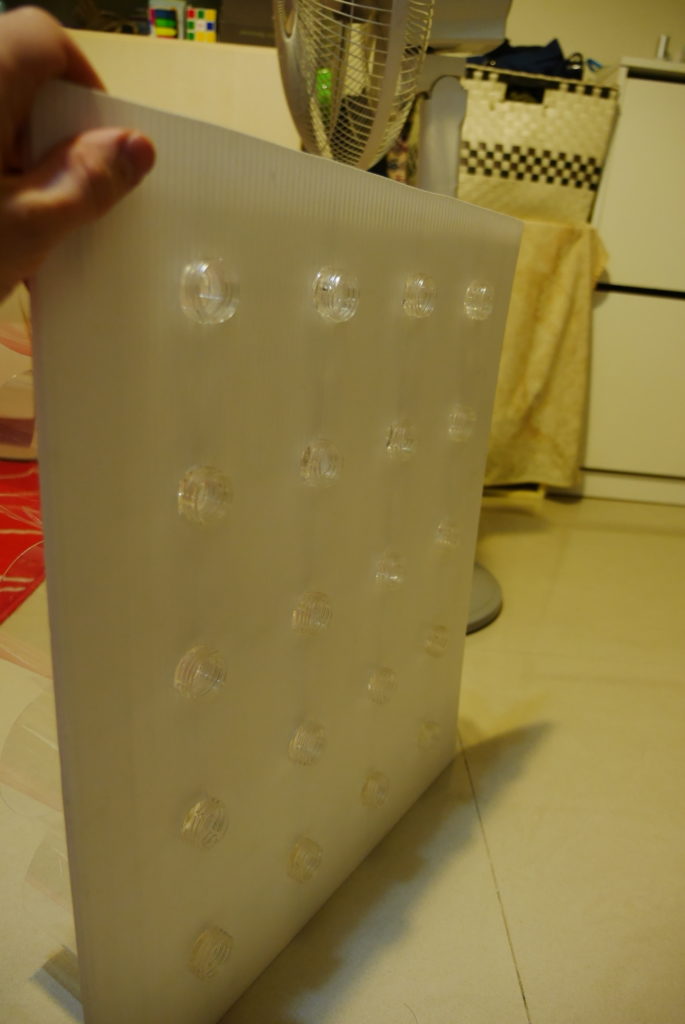
Here is what the finished product looks like from a few different angles:

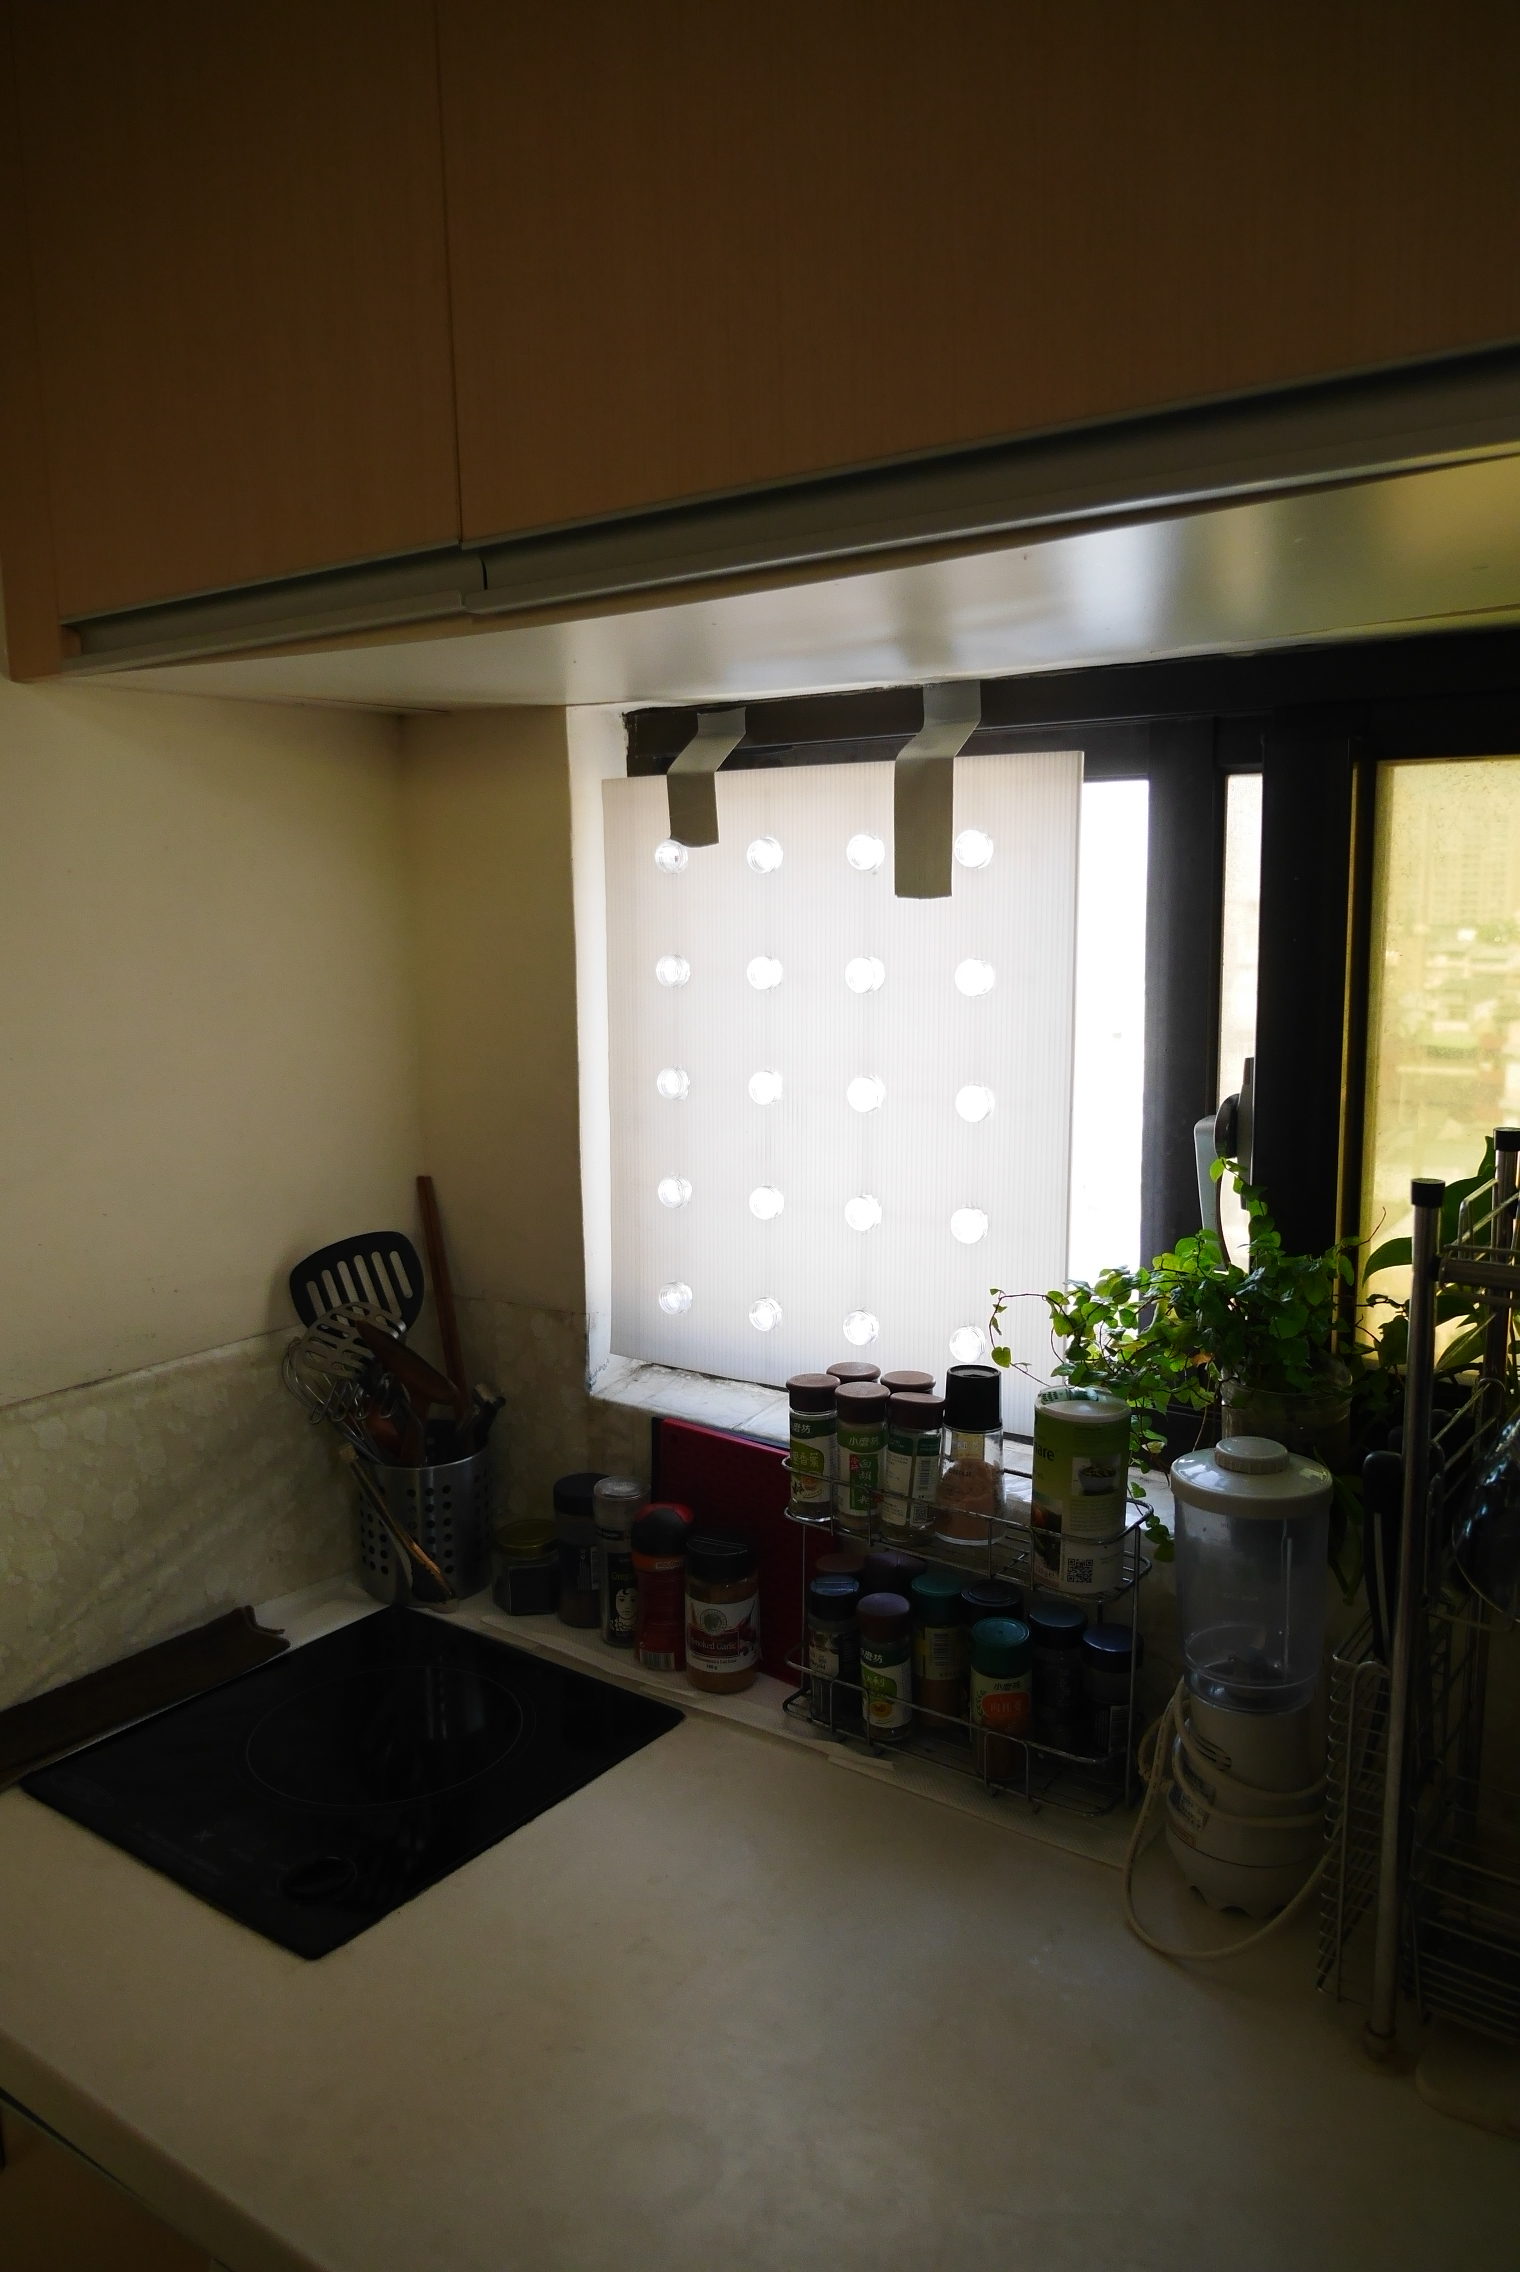
Like I mentioned it took me a long time to collect all the bottles I needed, so I only finished the build in early December. By then the winter weather had already arrived and I really doubted I would be able to test my construction before spring. To my great surprise, the week before Christmas was warm and sunny, at least around midday, so on Saturday I actually got a chance to try it out.
The air coming in was definitely cooler than the air in the room so the principal works. However, just like with the previous version the air flow is quite limited. I need to do some more extensive tests when it’s really hot outside before I can get some conclusive results. No matter what, I think you must combine the passive AC with a fan to really be comfortable. Anyway, I’ll make an update after I try it in hotter weather.
Leave a Reply